
DIY Guide: Installing Your Own Aluminium Fence
WC
Why Choose Aluminium Fencing?
Aluminium fencing is becoming increasingly popular due to its durability, low maintenance, and stylish appearance. Unlike wood, aluminium does not rot or warp, and it requires no painting or staining. It is also resistant to rust, making it an excellent choice for both residential and commercial properties.
The sleek look of aluminium fences can enhance the aesthetic appeal of any property. With various styles and colors available, you can customize your fence to match your home’s design. This guide will walk you through the process of installing your own aluminium fence, saving you money and giving you the satisfaction of a DIY project.

Gathering the Necessary Tools and Materials
Before you start, ensure you have all the necessary tools and materials. You will need:
- Aluminium fence panels
- Fence posts
- Concrete mix
- Posthole digger
- Level
- Measuring tape
- Screwdriver or drill
- Rubber mallet
Having everything ready before you begin will make the process smoother and more efficient.
Planning Your Fence Layout
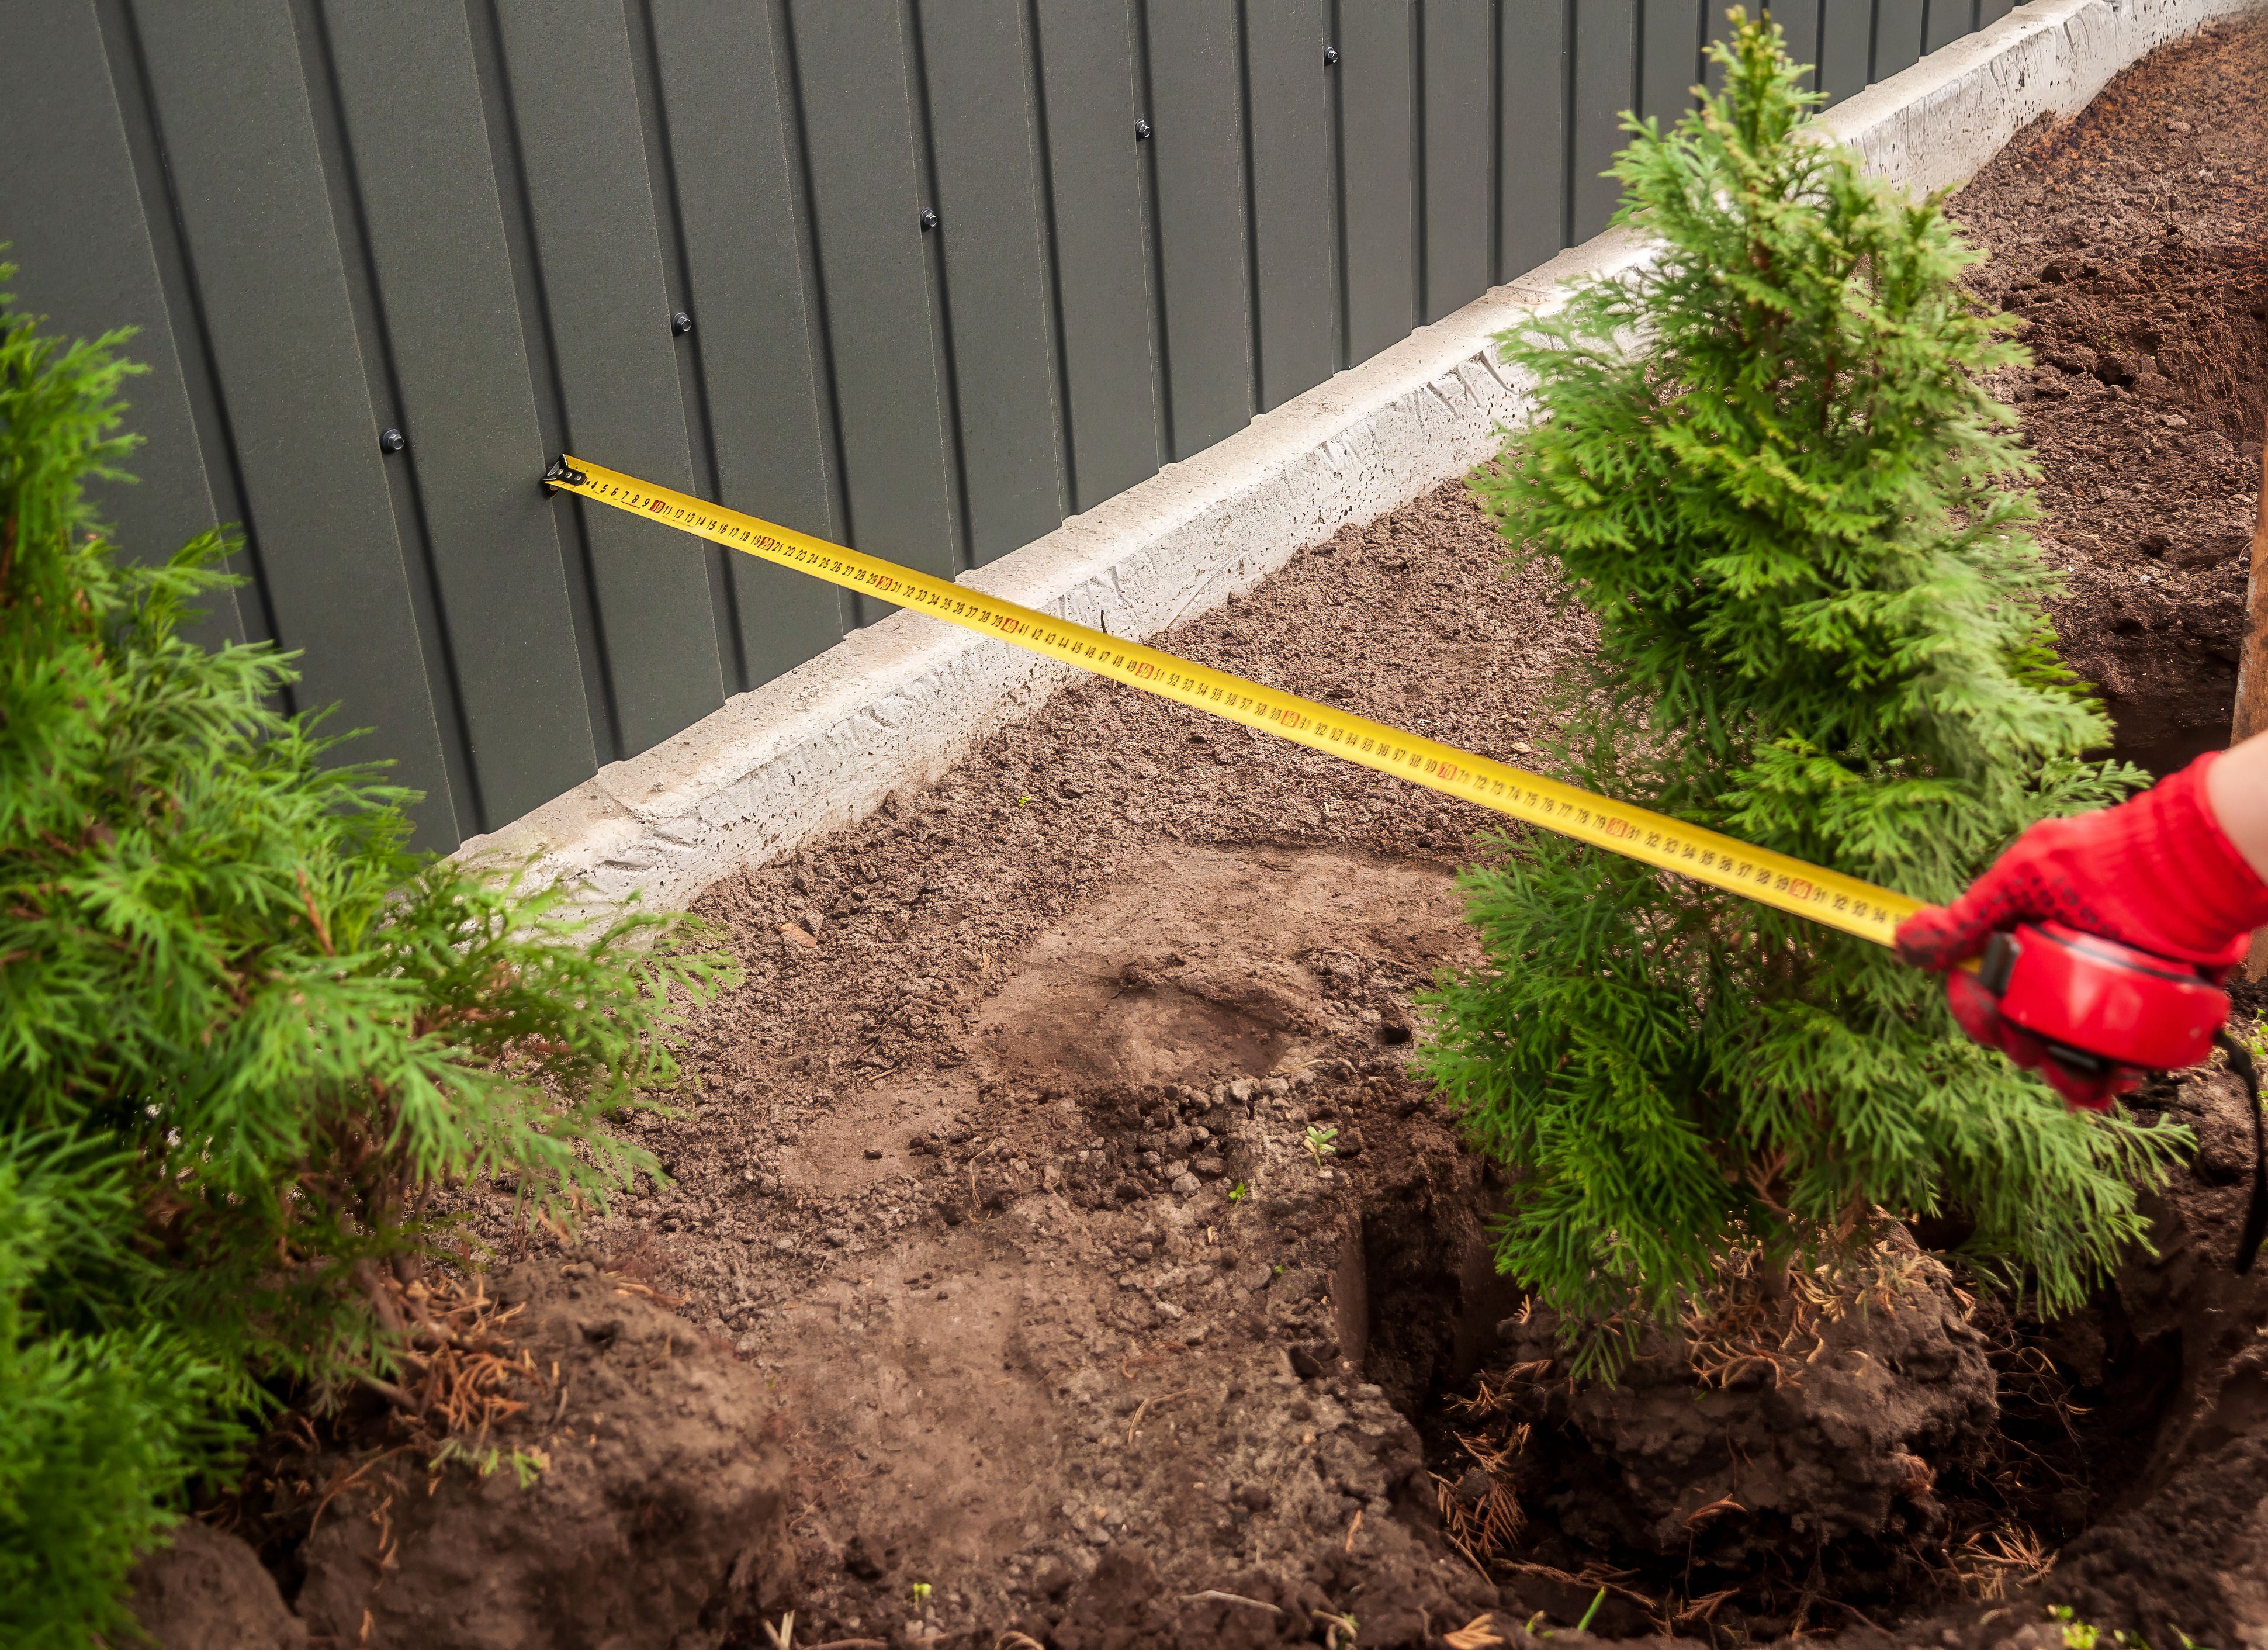
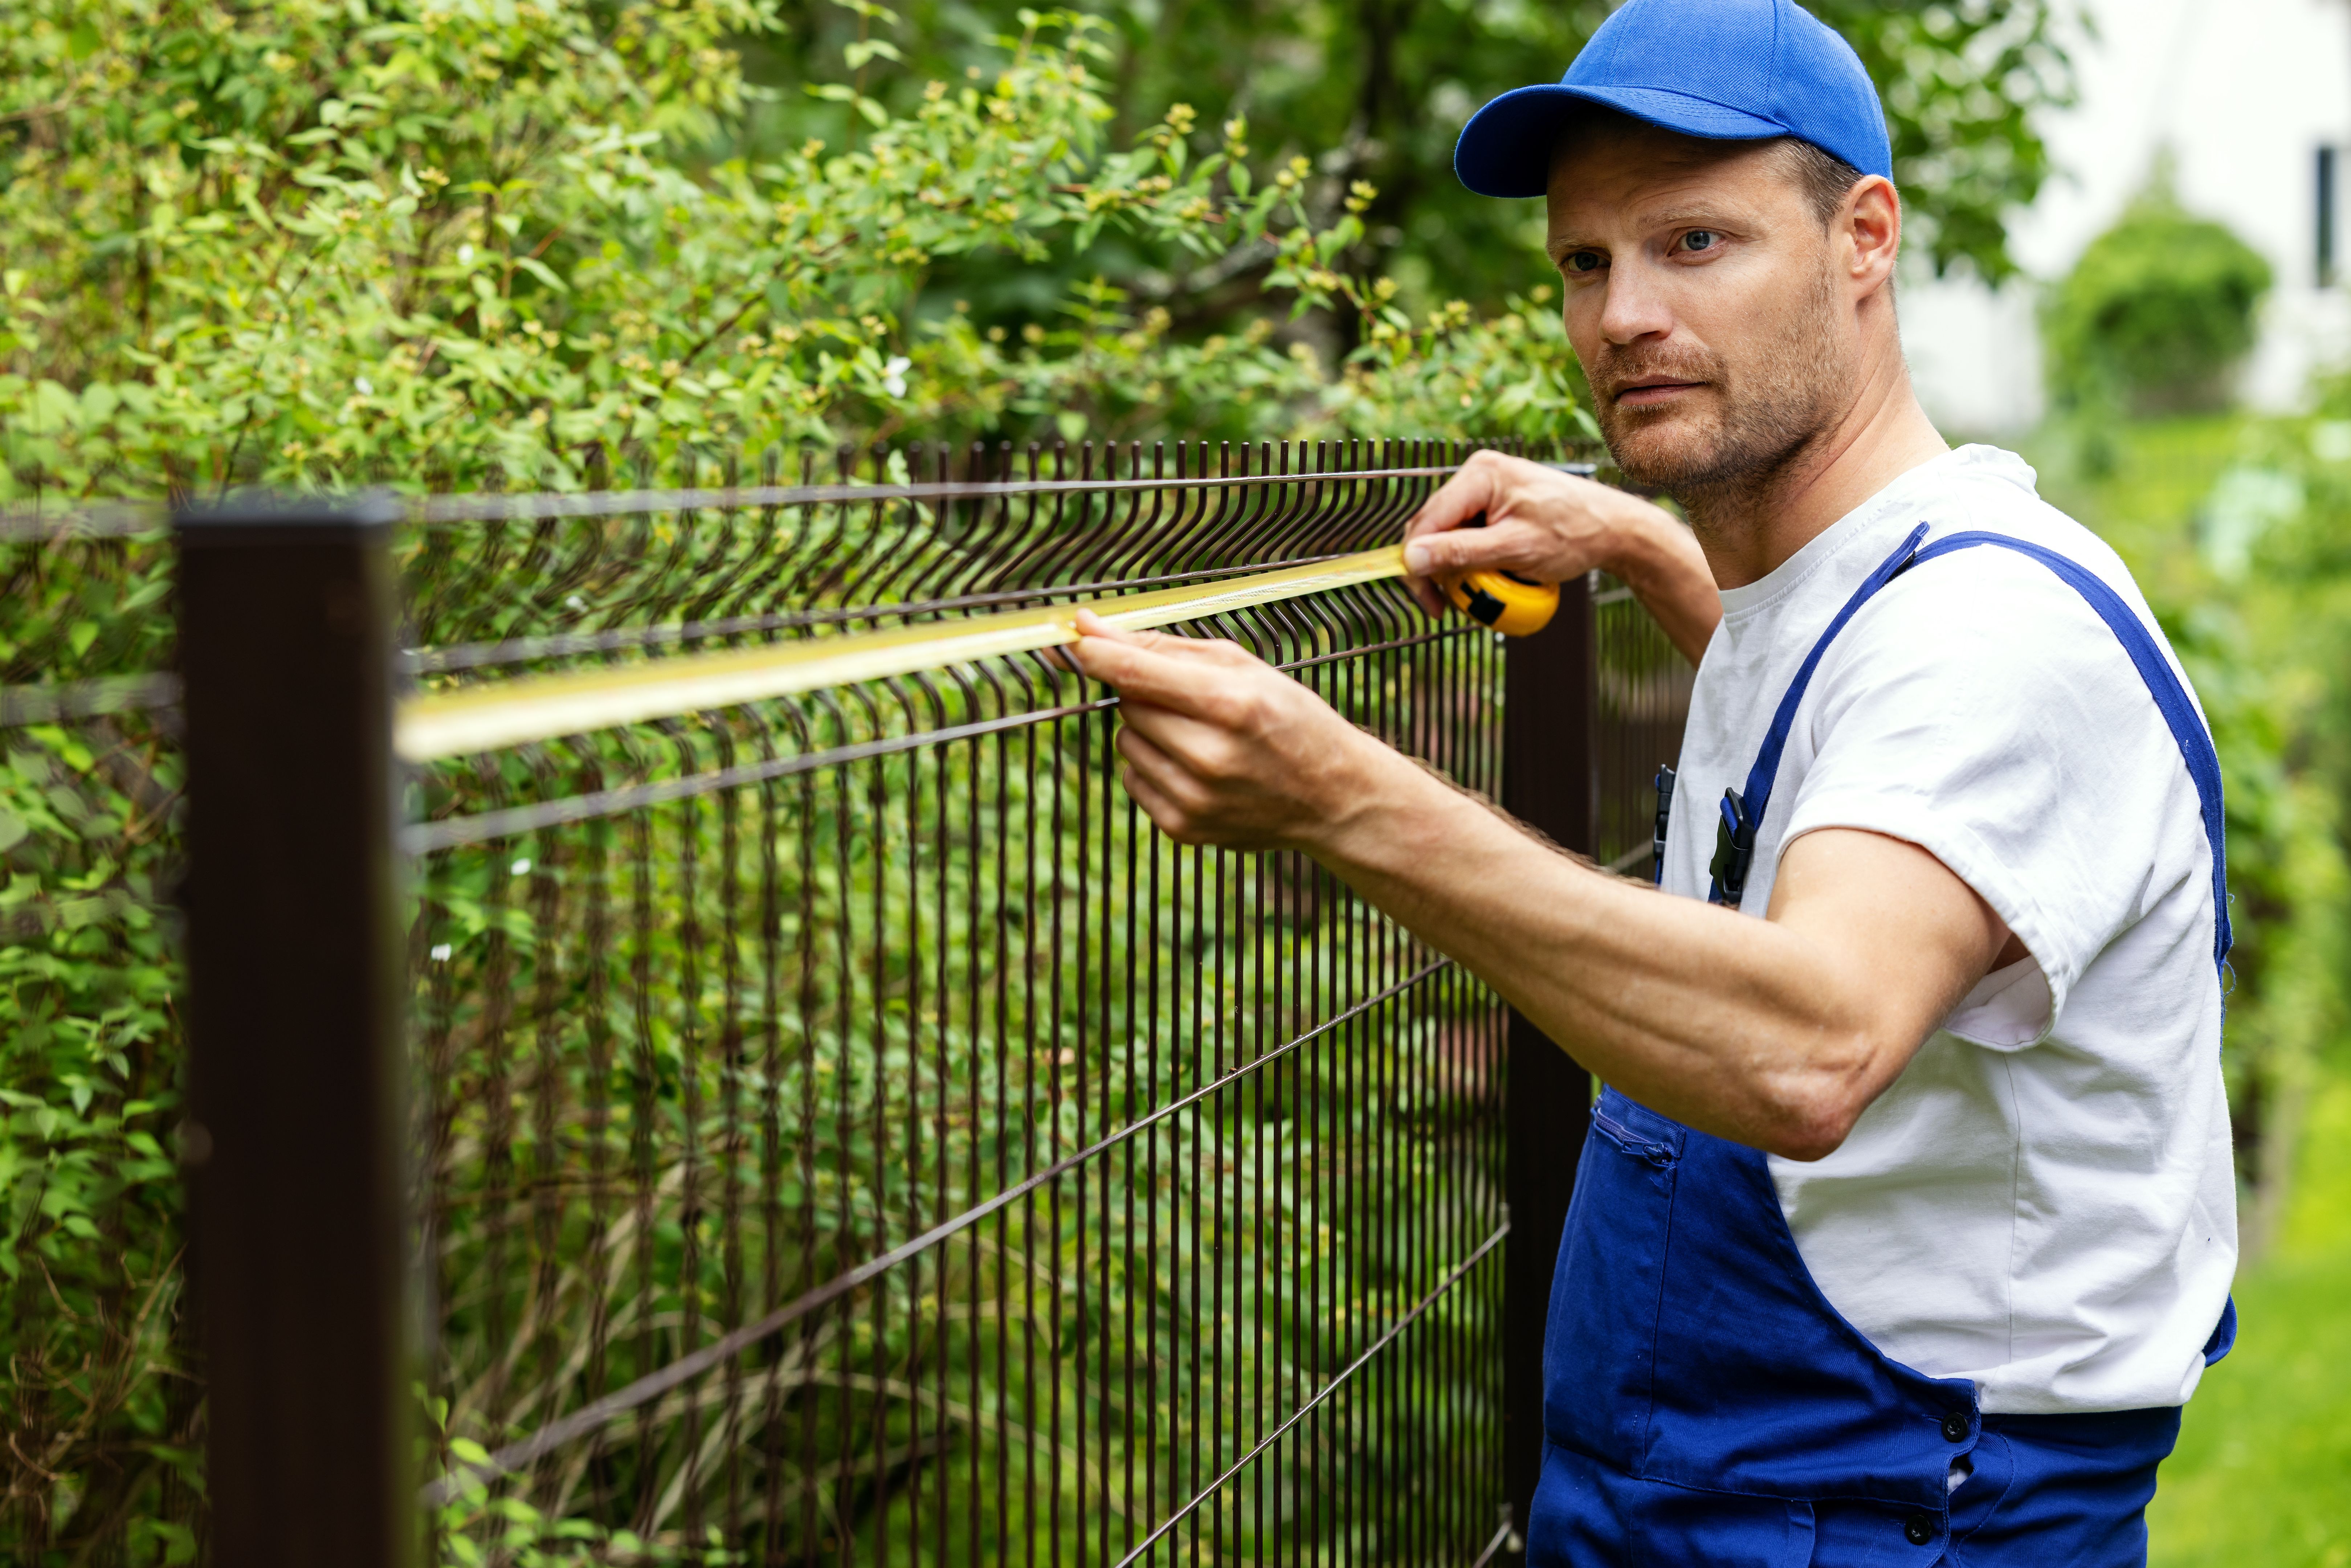
Planning is a crucial step in any DIY project. Start by determining the boundary lines of your property and deciding where you want your fence to be installed. Measure the area to calculate how many panels and posts you will need.
It’s important to check with your local zoning laws and homeowner’s association guidelines to ensure that your fence complies with all regulations. This can prevent potential legal issues further down the line.
Installing the Fence Posts
Once your layout is planned, it’s time to install the fence posts. Use a posthole digger to create holes for each post. The holes should be deep enough to ensure stability, typically one-third of the post’s length. Fill the bottom of each hole with gravel for drainage, then position the post.
Mix your concrete, pour it into the holes, and use a level to ensure the posts are straight. Allow the concrete to cure according to the manufacturer’s instructions before proceeding to the next step.
Attaching the Aluminium Panels
With the posts securely in place, you can begin attaching the aluminium fence panels. Align the panels between the posts, ensuring they are at the desired height and level. Use screws or brackets to attach the panels to the posts securely.
A rubber mallet can be useful for making minor adjustments to the panel’s position without damaging the material. Work methodically, checking the level as you go to achieve a professional finish.
Final Touches and Maintenance Tips
Once all panels are installed, perform a final inspection to ensure everything is secure and aligned. Tighten any loose screws and make necessary adjustments to maintain the integrity of the fence.
Although aluminium fencing requires little maintenance, it’s beneficial to periodically clean the fence with mild detergent and water to keep it looking its best. Regular inspections for any loose hardware can also help prolong the life of your fence.
By following these steps, you can successfully install an aluminium fence that not only provides security but also enhances the beauty of your property. Enjoy the sense of accomplishment that comes with completing your own home improvement project!