
DIY Guide: Installing Your Own Aluminium Fence in Sydney
WC
Why Choose Aluminium Fencing?
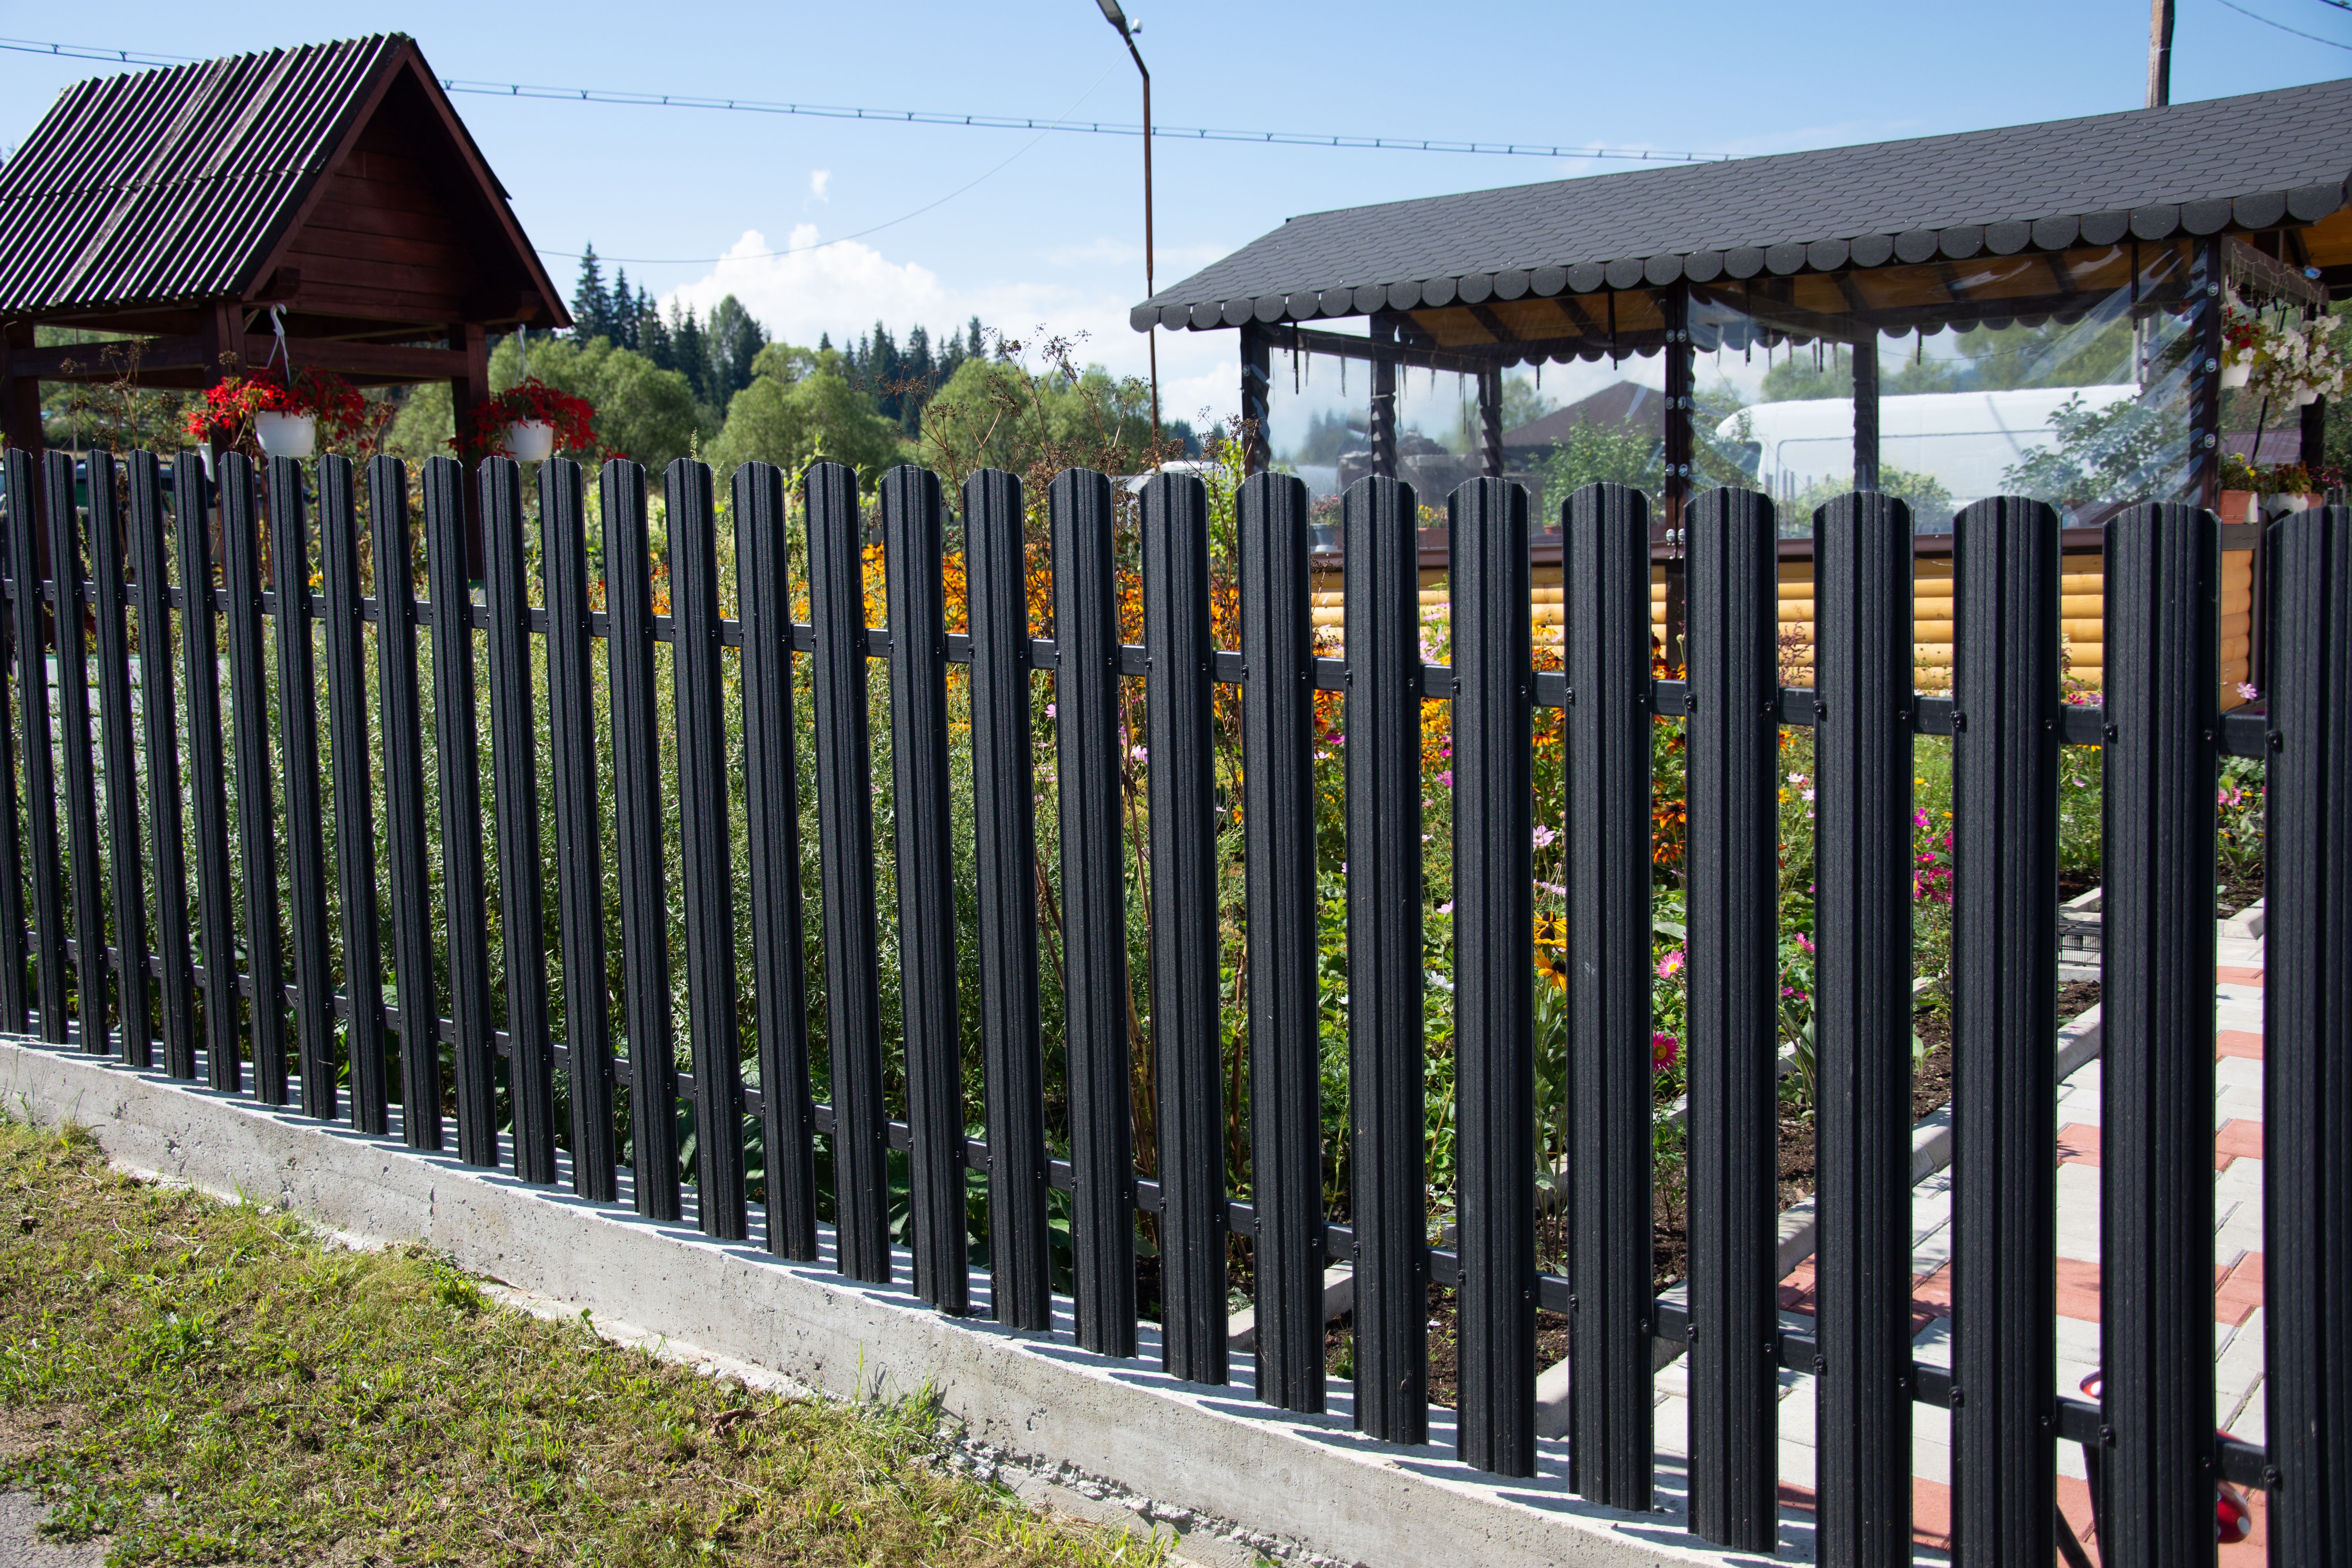
Aluminium fencing has become a popular choice for homeowners in Sydney due to its durability, low maintenance, and aesthetic appeal. Unlike iron or wood, aluminium does not rust, rot, or require frequent painting. It's an ideal choice for those looking to enhance their property's curb appeal while ensuring long-term security and functionality.
Moreover, aluminium fences are lightweight yet sturdy, making them easier to handle during installation. They come in a variety of styles and finishes, allowing you to customize the look to match your home's exterior. This flexibility makes aluminium fencing an excellent option for both contemporary and traditional homes.
Planning Your Aluminium Fence Installation
Before diving into the installation process, it's crucial to plan your project thoroughly. Start by measuring the perimeter of the area you wish to fence. This will help you determine the amount of material you'll need. Additionally, check with your local council in Sydney for any zoning regulations or permits required for fence installation.
Next, decide on the type of aluminium fence that best suits your needs. Consider factors such as height, style, and color. It's also wise to factor in any gates or additional features you may want to add. Proper planning will save you time and reduce potential issues during installation.
Gathering Your Materials and Tools
Once you've completed the planning phase, it's time to gather the necessary materials and tools. Here's a list of what you'll typically need:
- Aluminium fence panels
- Fence posts
- Post caps
- Cement or gravel for securing posts
- Screws and brackets
- A level
- Measuring tape
- Post hole digger
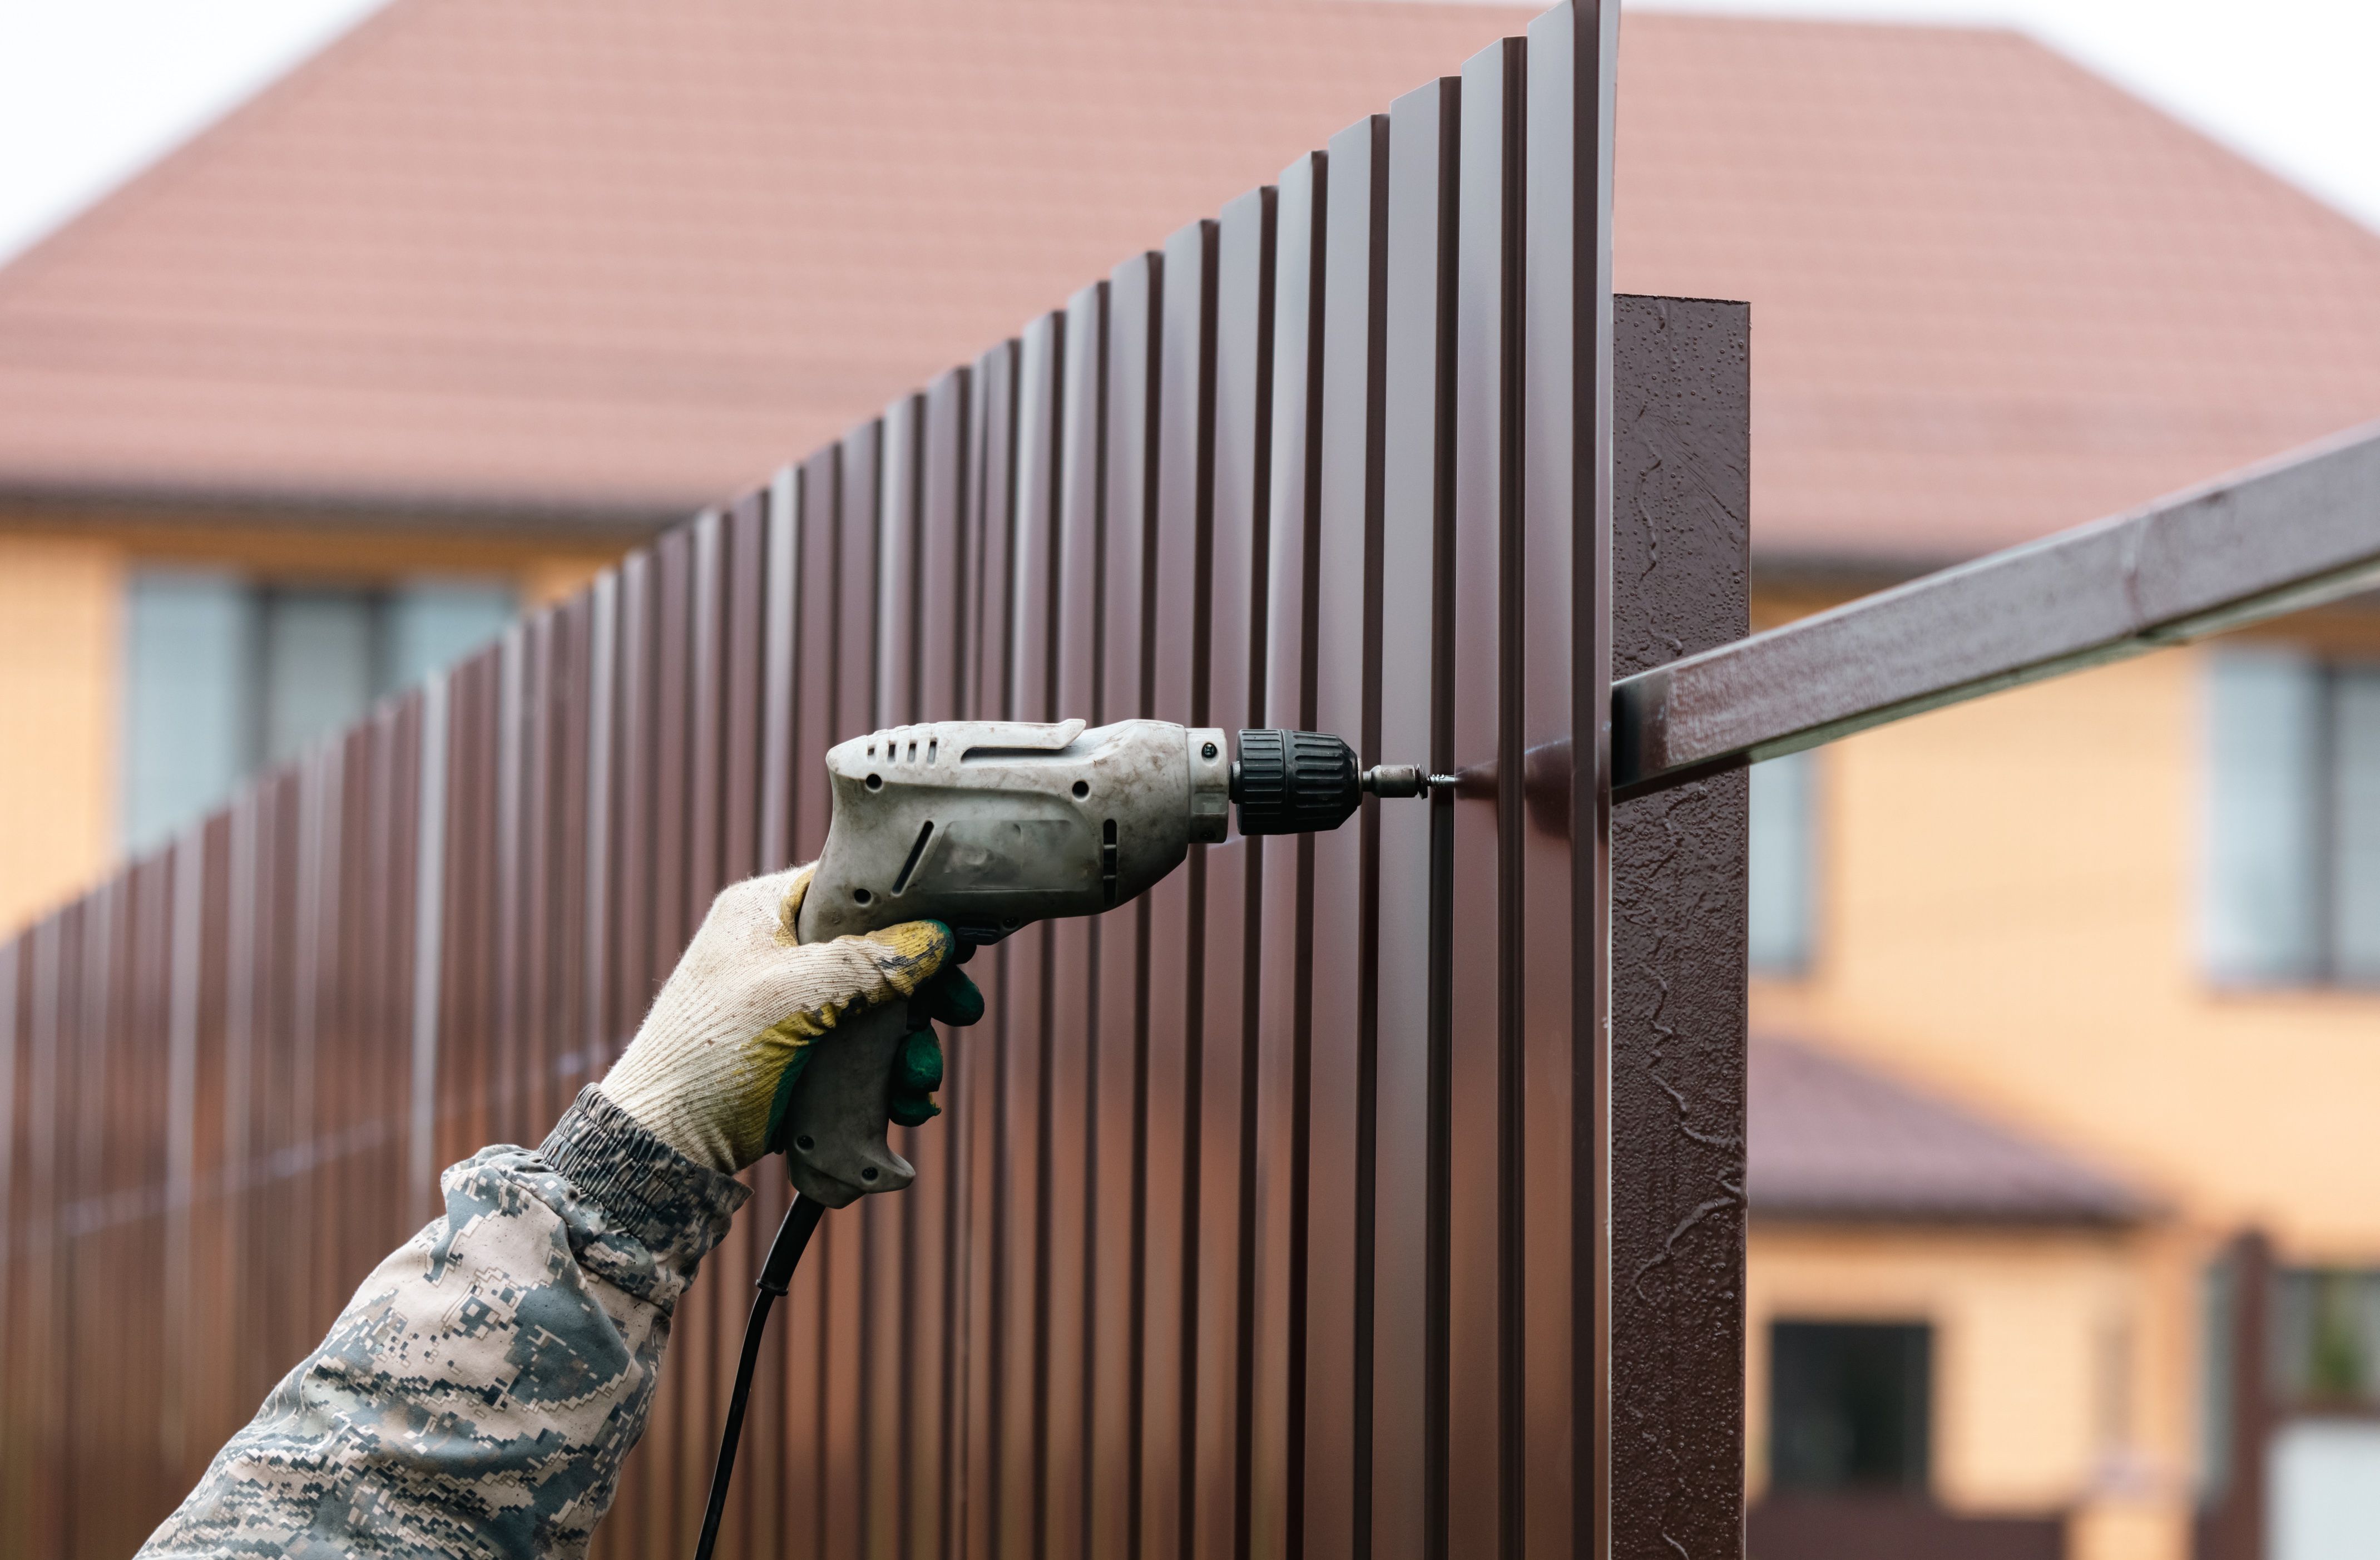
- Screwdriver or power drill
Step-by-Step Installation Guide
With your materials ready, follow these steps to install your aluminium fence:
- Mark the perimeter: Use stakes and string to outline where the fence will be installed.
- Dig holes for posts: Use a post hole digger to create holes for each post, ensuring they are deep enough for stability.
- Set the posts: Place the posts into the holes and fill with cement or gravel for support. Use a level to ensure they are straight.
- Attach panels: Once the posts are secure, attach the aluminium panels using screws and brackets.
- Add finishing touches: Install post caps for a polished look and make any necessary adjustments to ensure alignment.
Final Checks and Maintenance Tips
After installation, perform final checks to ensure everything is securely in place. Walk along the fence line, inspecting each panel and post for stability and alignment. Make any necessary adjustments or tighten loose screws.
Although aluminium fences require minimal maintenance, regular inspections can prolong their lifespan. Check for any signs of wear or damage, especially after severe weather conditions. Clean the fence periodically with mild soap and water to maintain its appearance.
By following this DIY guide, you'll be able to install an aluminium fence that enhances both the security and beauty of your home in Sydney. Enjoy the satisfaction of completing a project that adds value and functionality to your property!