DIY Timber Decking: Step-by-Step Guide for Beginners
WC
Building your own timber decking can be a rewarding project that not only enhances your outdoor living space but also adds value to your home. Whether you're looking to create a cozy nook for relaxation or an area for entertaining guests, this step-by-step guide will walk you through the process of constructing a beautiful and sturdy deck.
Planning Your Deck
Before you start buying materials, it's crucial to plan your deck thoroughly. Consider the size, location, and design that best fits your outdoor space. Make sure to check local building regulations and obtain necessary permits. A well-thought-out plan will save you time and ensure a smoother building process.
Design and Layout
Decide on the shape and style of your deck. Sketch out your ideas, and if possible, use design software to visualize the final result. Consider factors such as sun exposure, privacy, and accessibility when choosing your deck's location.
Gathering Materials and Tools
Once you've finalized your design, it's time to gather the necessary materials and tools. Here’s a list of essential items you'll need:
- Timber decking boards
- Pressure-treated wood for joists and supports
- Deck screws and nails
- Concrete mix for footings
- Post anchors
- Level, measuring tape, and saw
- Cordless drill and screwdriver
Preparing the Site
Before you start building, prepare the site where your deck will be located. Clear away any vegetation or debris, and ensure the ground is level. Mark out the perimeter of your deck using stakes and string to visualize its size and shape.
Laying Foundations
The stability of your deck depends on solid foundations. Dig holes for the footings at each corner of the deck and at regular intervals along the perimeter. Fill these holes with concrete and insert post anchors to secure the deck posts.
Building the Frame
With the foundations set, you can start constructing the frame of your deck. Attach the joists to the ledger board, which is fixed to your house or a solid structure. Use joist hangers for additional support. Ensure all joists are level and evenly spaced.
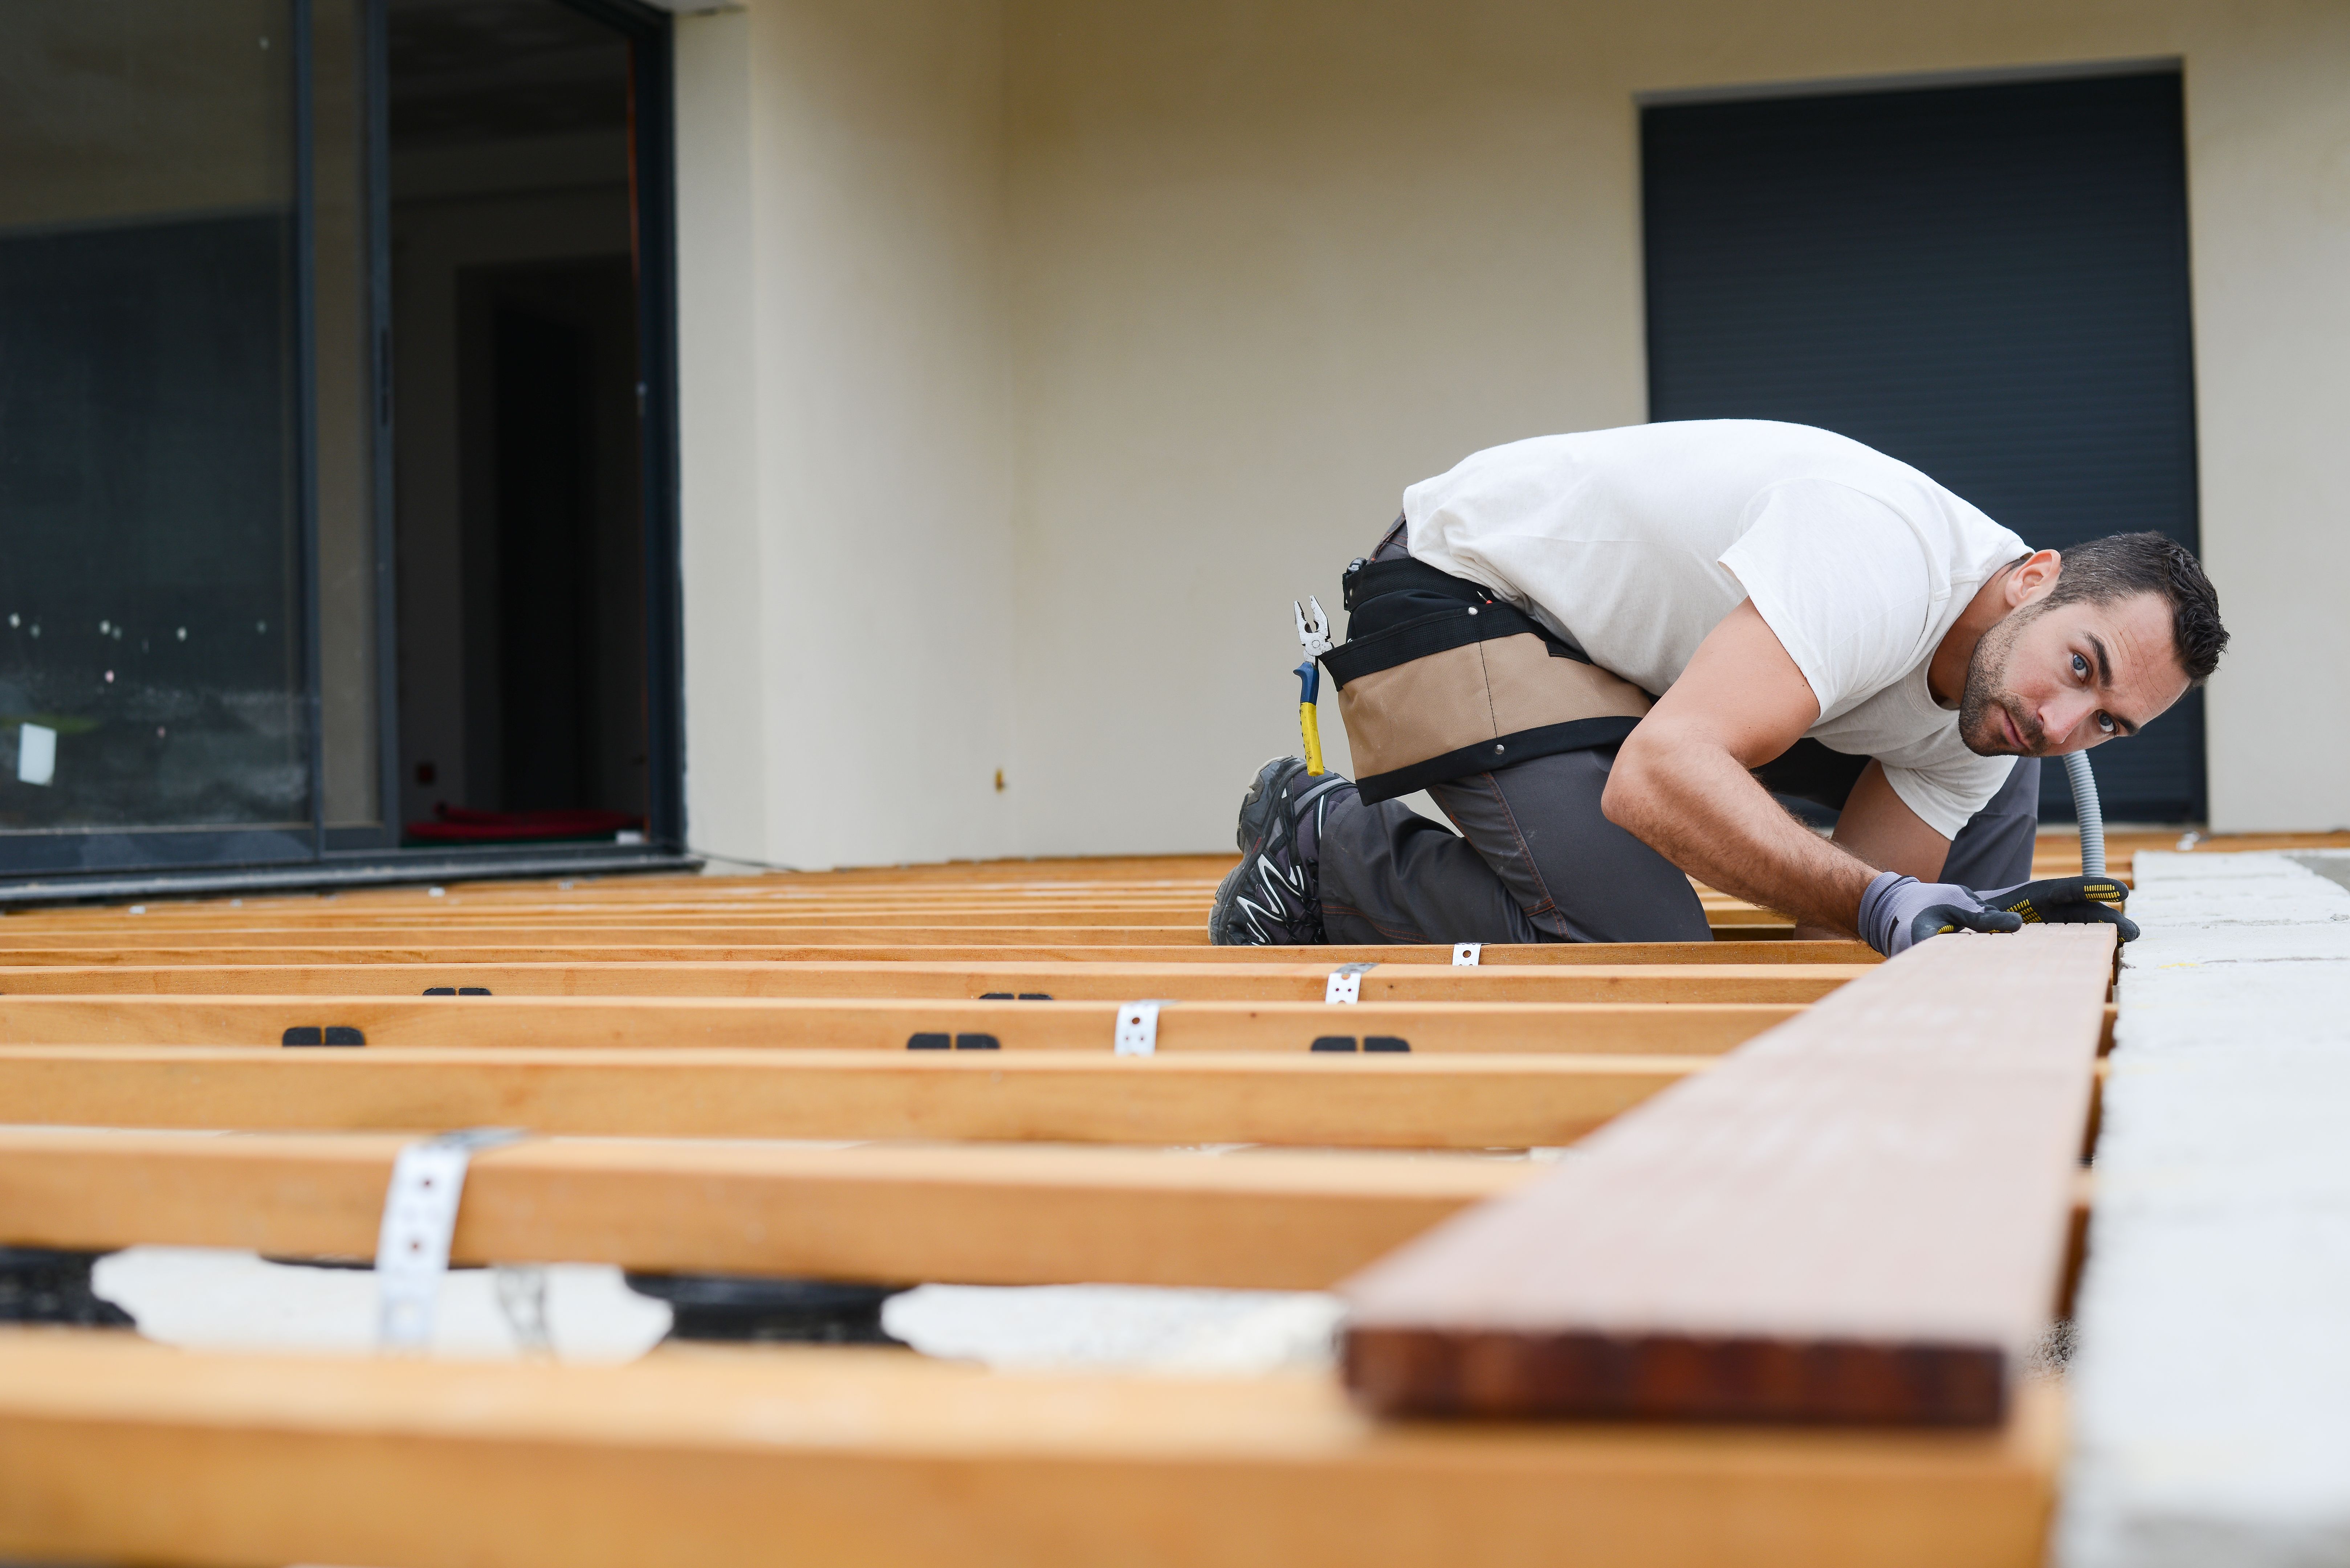
Installing Decking Boards
Once the frame is complete, it's time to lay down the decking boards. Begin at one end of the deck and work your way across, ensuring each board is securely fastened with screws or nails. Leave a small gap between each board to allow for expansion and drainage.
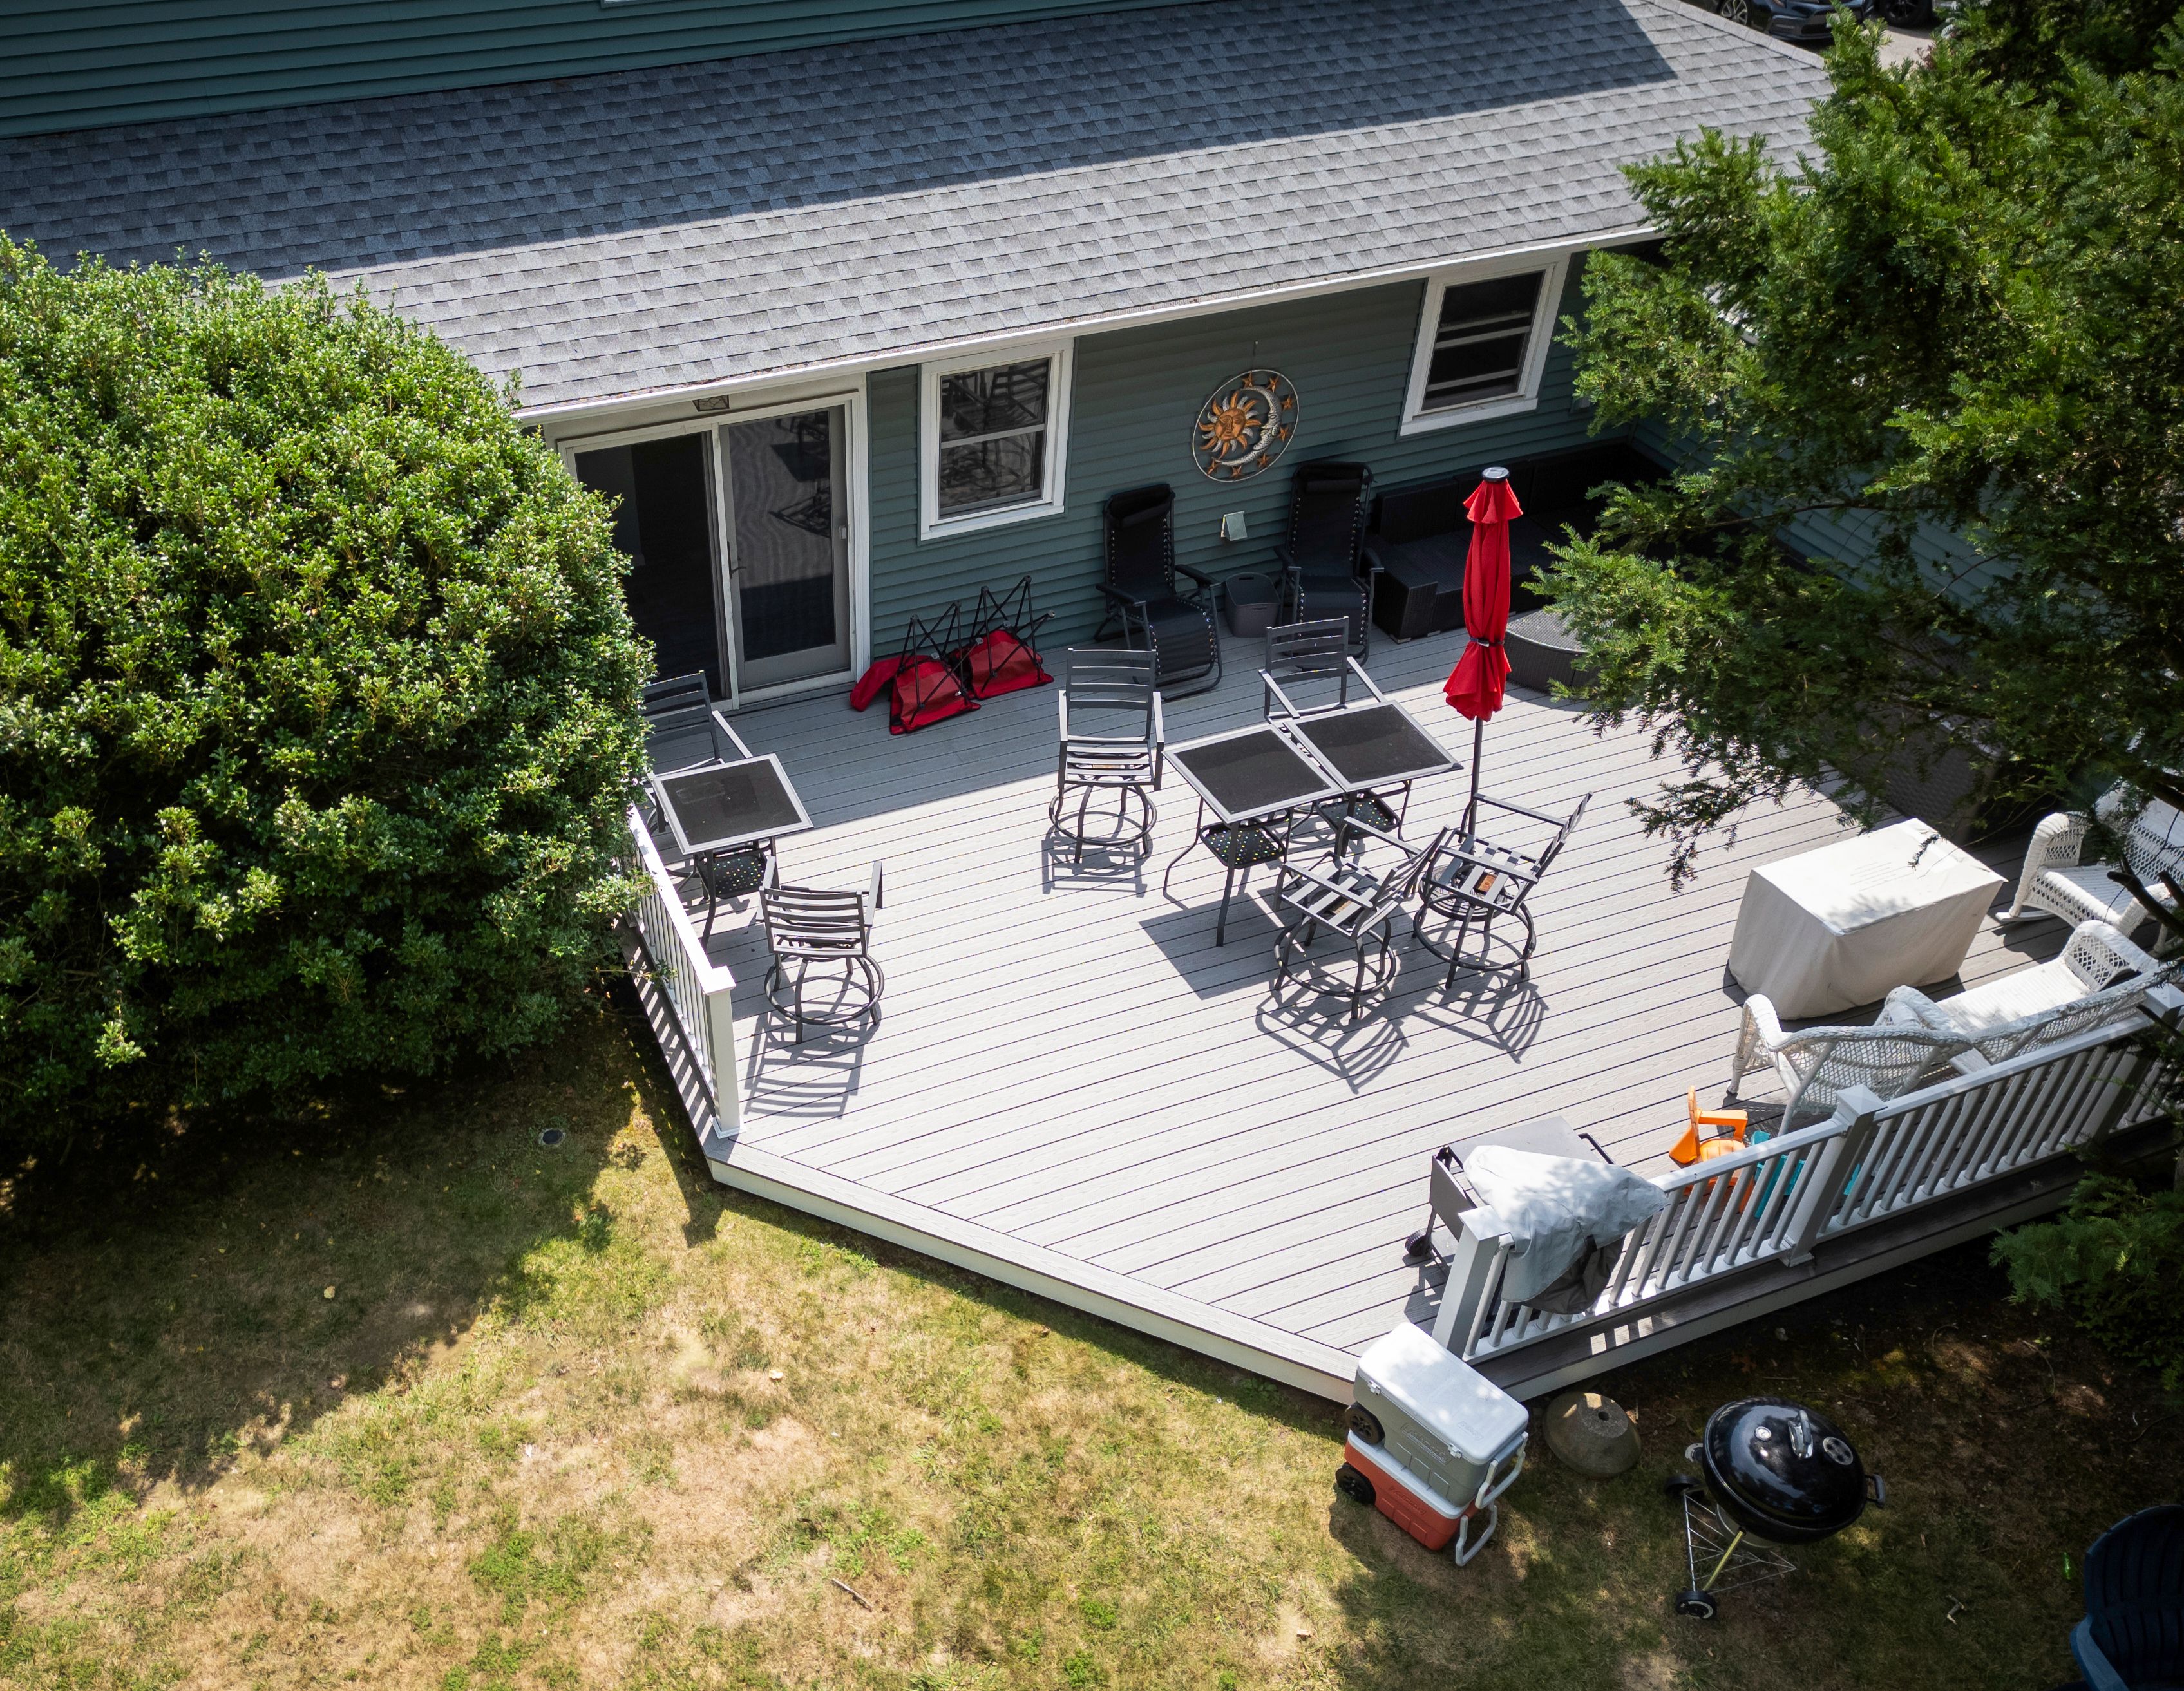
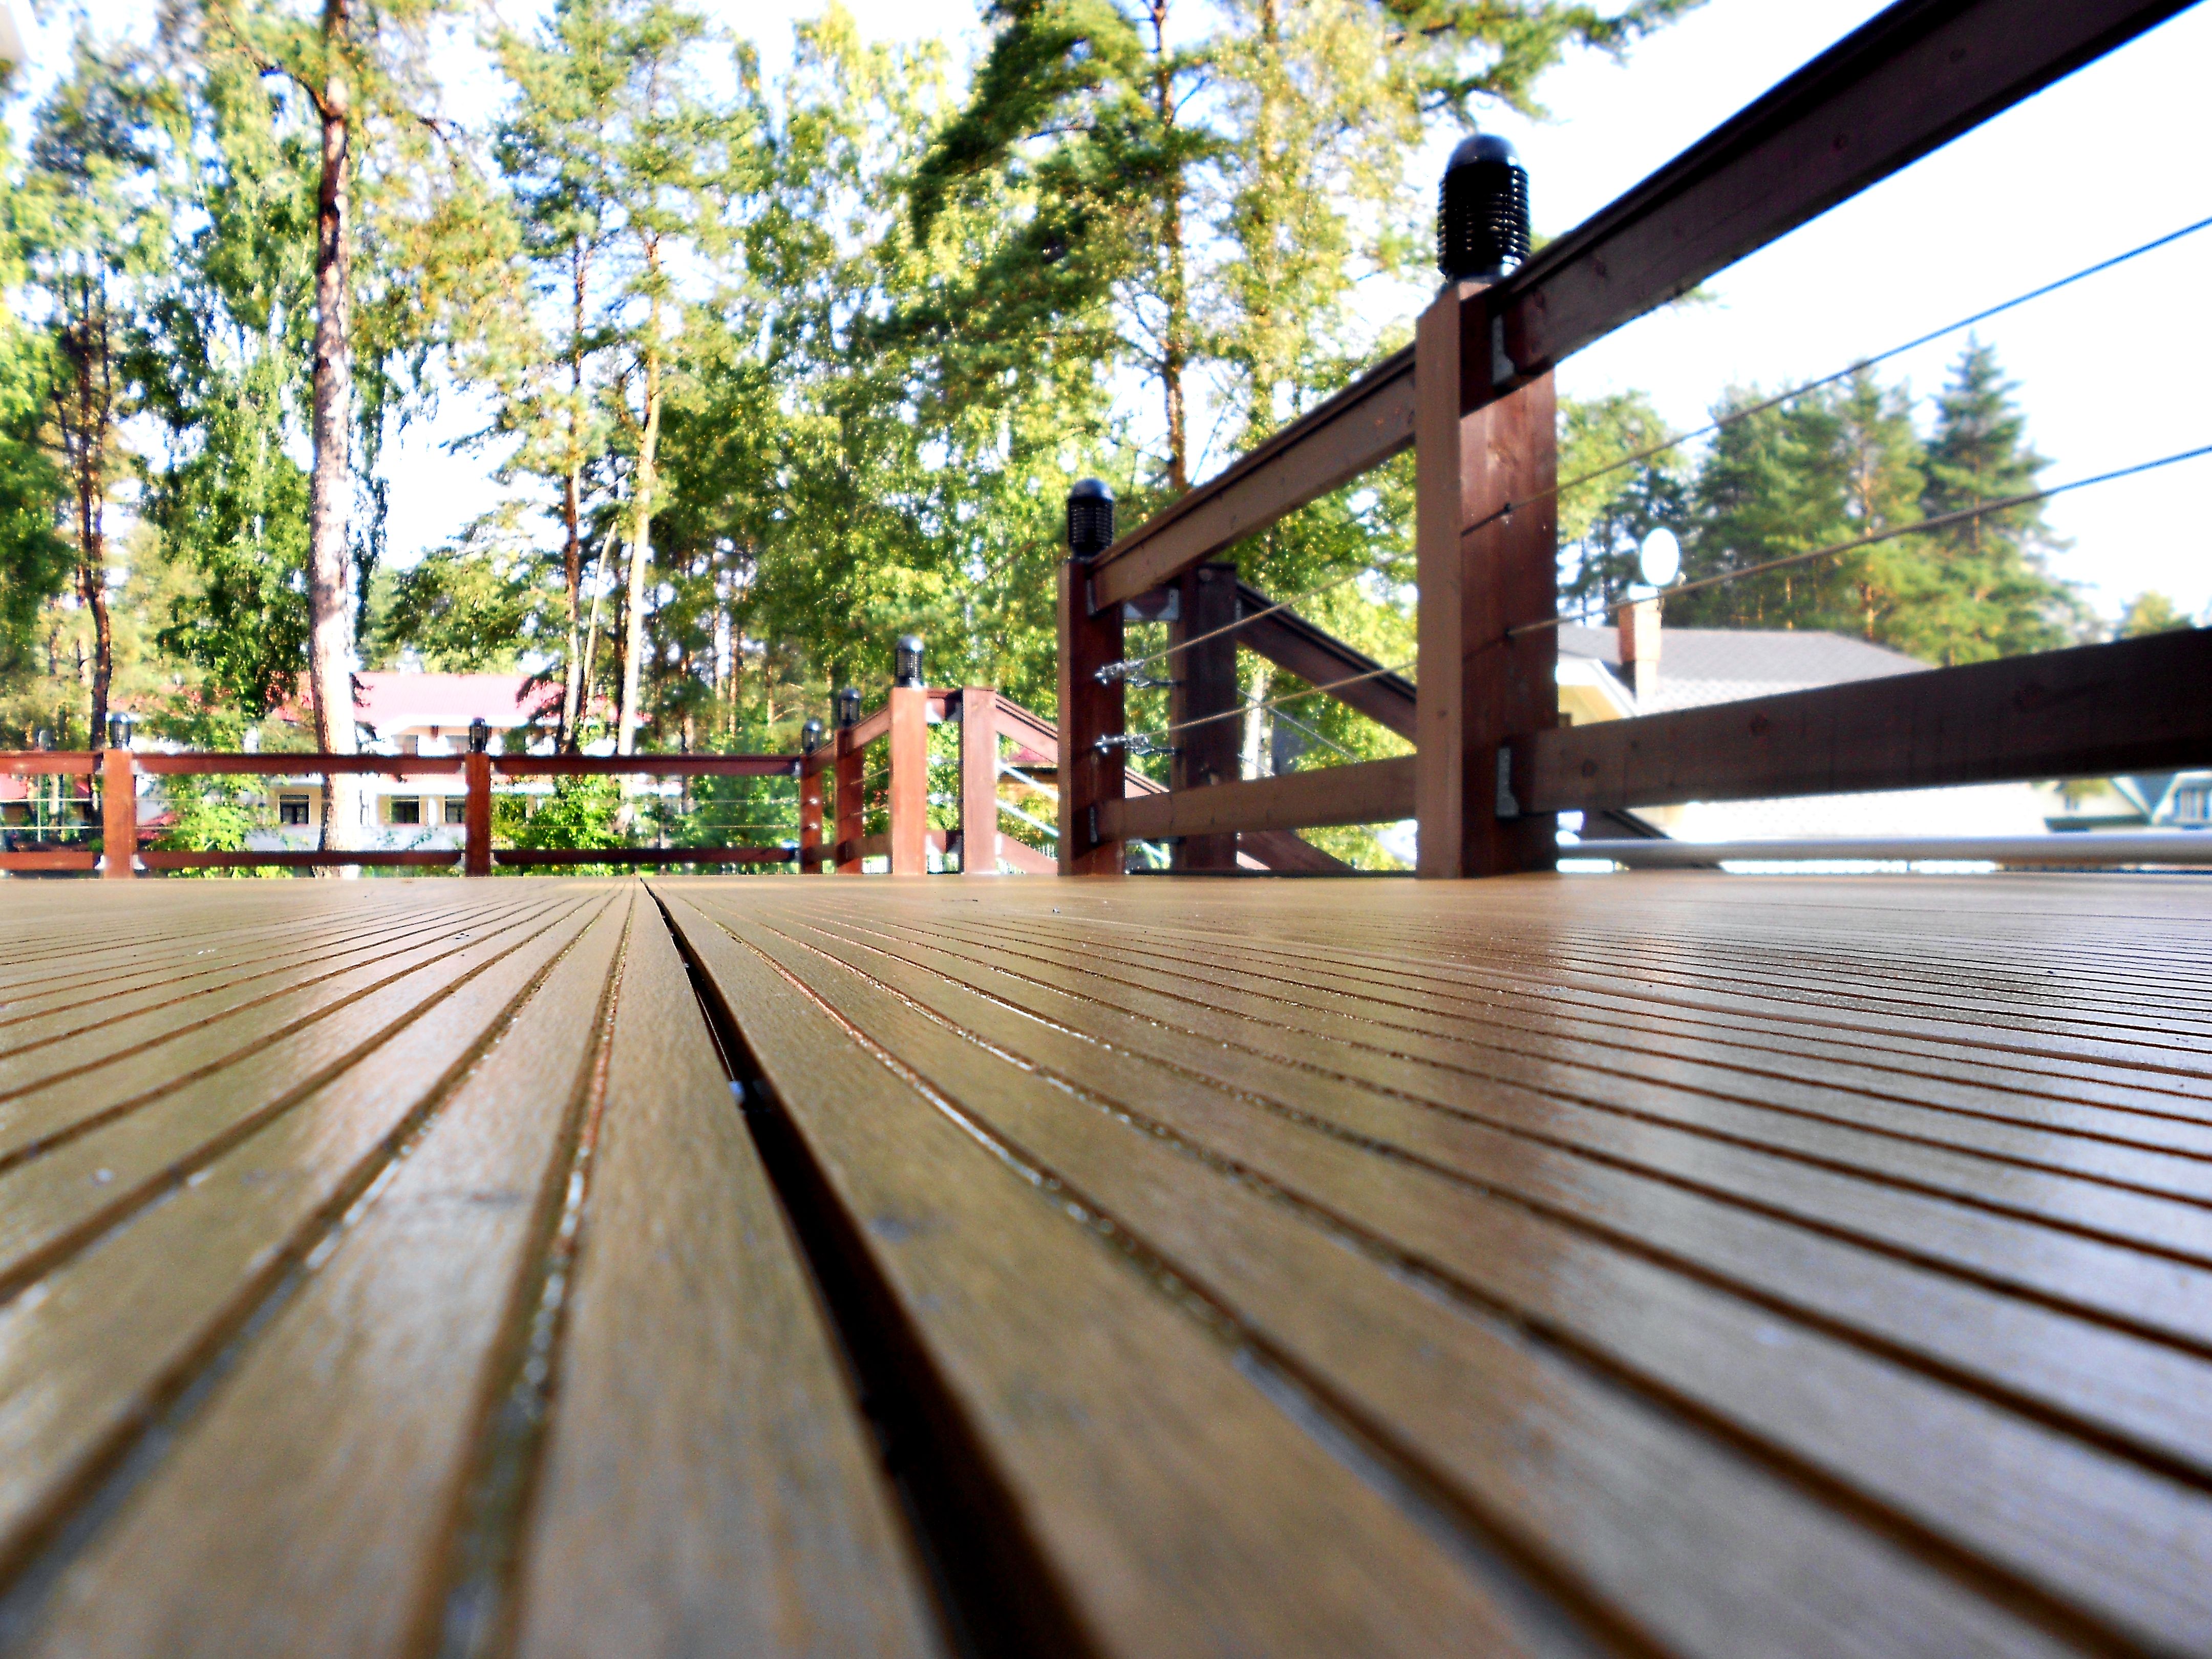
Finishing Touches
After all the boards are in place, give your deck a thorough sanding to smooth out any rough edges. Apply a high-quality sealant or stain to protect the wood from weathering and enhance its natural beauty. Consider adding railings or steps if needed for safety and accessibility.
Finally, decorate your new outdoor space with furniture, plants, or lighting to create an inviting atmosphere. With your DIY timber decking complete, enjoy countless hours of relaxation and entertainment in your enhanced outdoor area.