
DIY Timber Decking: Tips and Tricks from the Pros
WC
Understanding the Basics of Timber Decking
Creating a beautiful timber deck in your backyard can be a rewarding DIY project that enhances your outdoor living space. Before you begin, it's important to understand the basics of timber decking, including the materials you'll need and the steps involved in the process. Timber decking is popular due to its natural appearance and durability, making it a great choice for those who enjoy a classic look.
To start, you'll need to select the right type of timber for your deck. Popular choices include cedar, redwood, and pressure-treated pine. Each type of wood has its own characteristics, so consider factors like durability, maintenance, and cost when making your selection. Additionally, ensure that your timber is properly treated to withstand weather conditions and resist pests.
Planning Your Deck Design
Once you've selected your timber, it's time to plan your deck design. Consider the size and shape of your deck, as well as how it will fit into your existing landscape. It's crucial to measure your space accurately and create a detailed plan before purchasing materials. Think about the intended use of your deck—will it be for entertaining, relaxing, or both?
Your design should also account for any additional features you may want to include, such as built-in seating or planters. Be sure to check local building codes and obtain any necessary permits before starting construction.
Preparing the Site
Proper site preparation is key to a successful DIY timber decking project. Start by clearing the area where the deck will be built. Remove any debris, rocks, or vegetation that may interfere with construction. Once the area is clear, level the ground to provide a stable foundation for your deck. This may involve excavating or adding soil to create an even surface.
Next, mark out the area where your deck will be installed using stakes and string. This will give you a visual guide and help ensure that your deck is constructed according to plan.
Building Your Deck
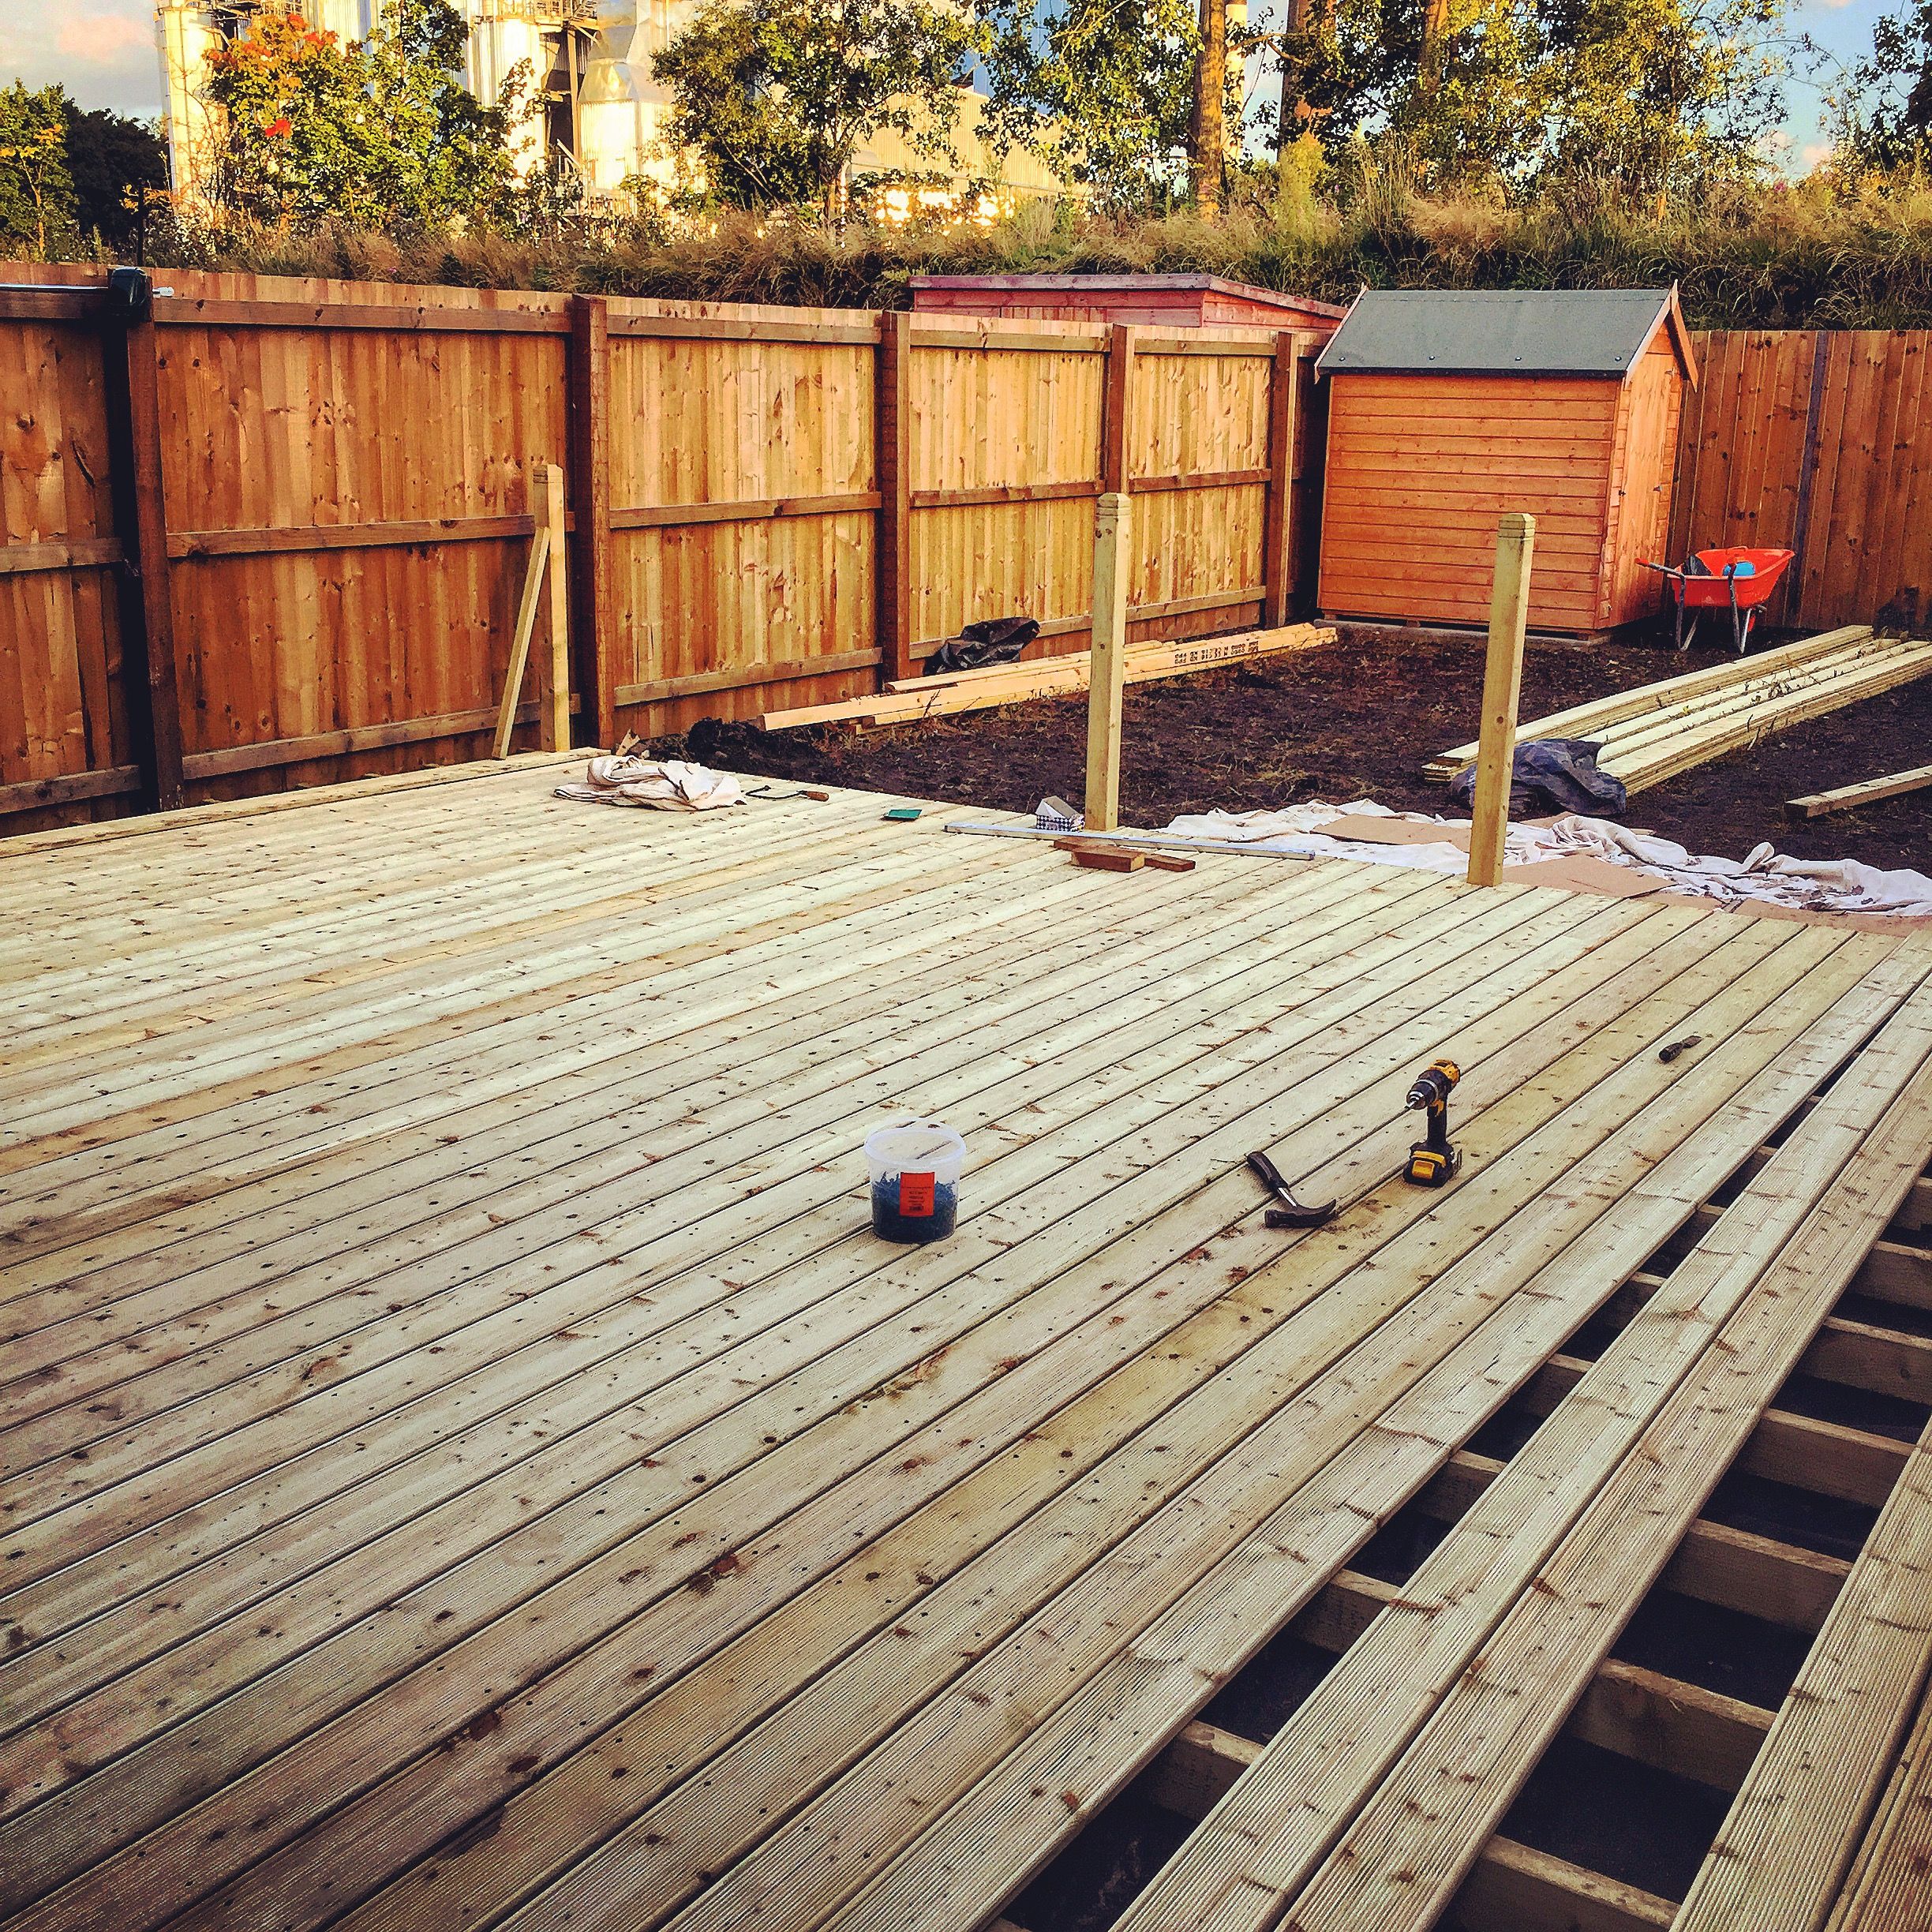
With your site prepared and materials ready, it's time to start building your deck. Begin by installing the support posts and framing. Ensure that all components are level and securely fastened to create a sturdy structure. Use galvanized screws or nails to prevent rusting over time.
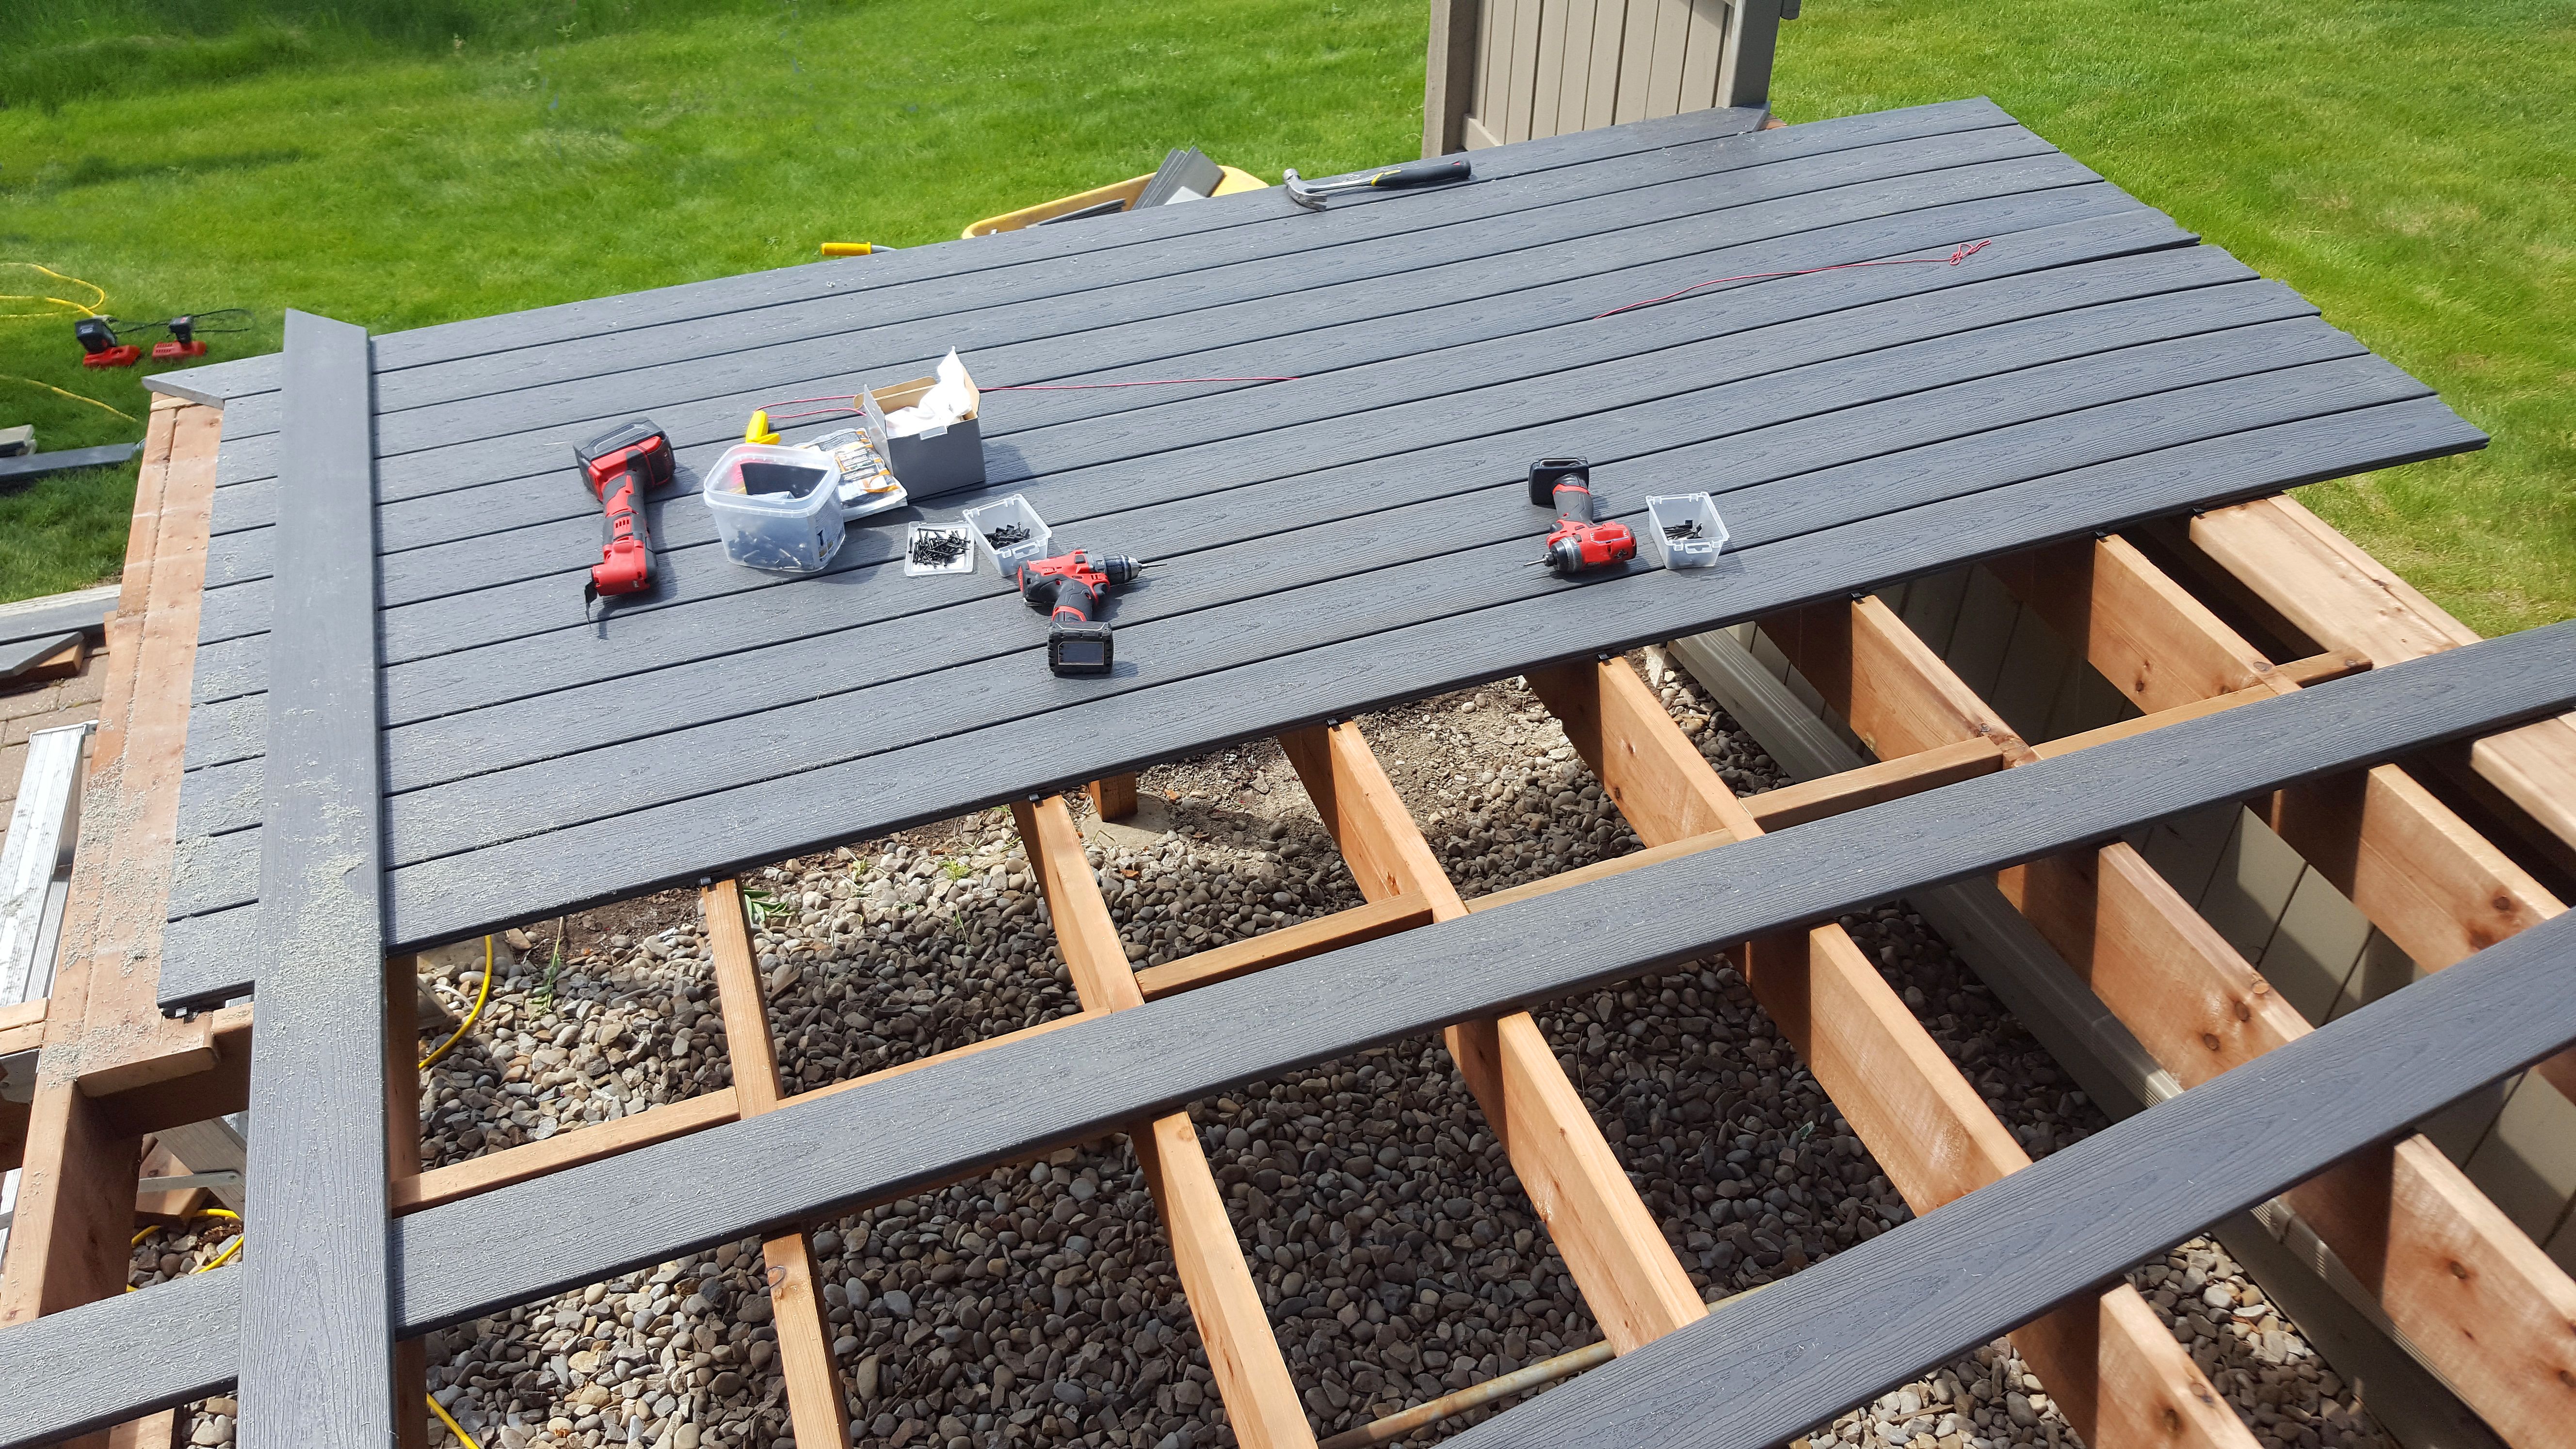
Once the frame is complete, you can start laying the decking boards. Begin at the outer edge of the deck and work your way inward, leaving a small gap between each board for expansion and drainage. Use a spirit level to ensure that each board is even before securing it in place.
Finishing Touches and Maintenance
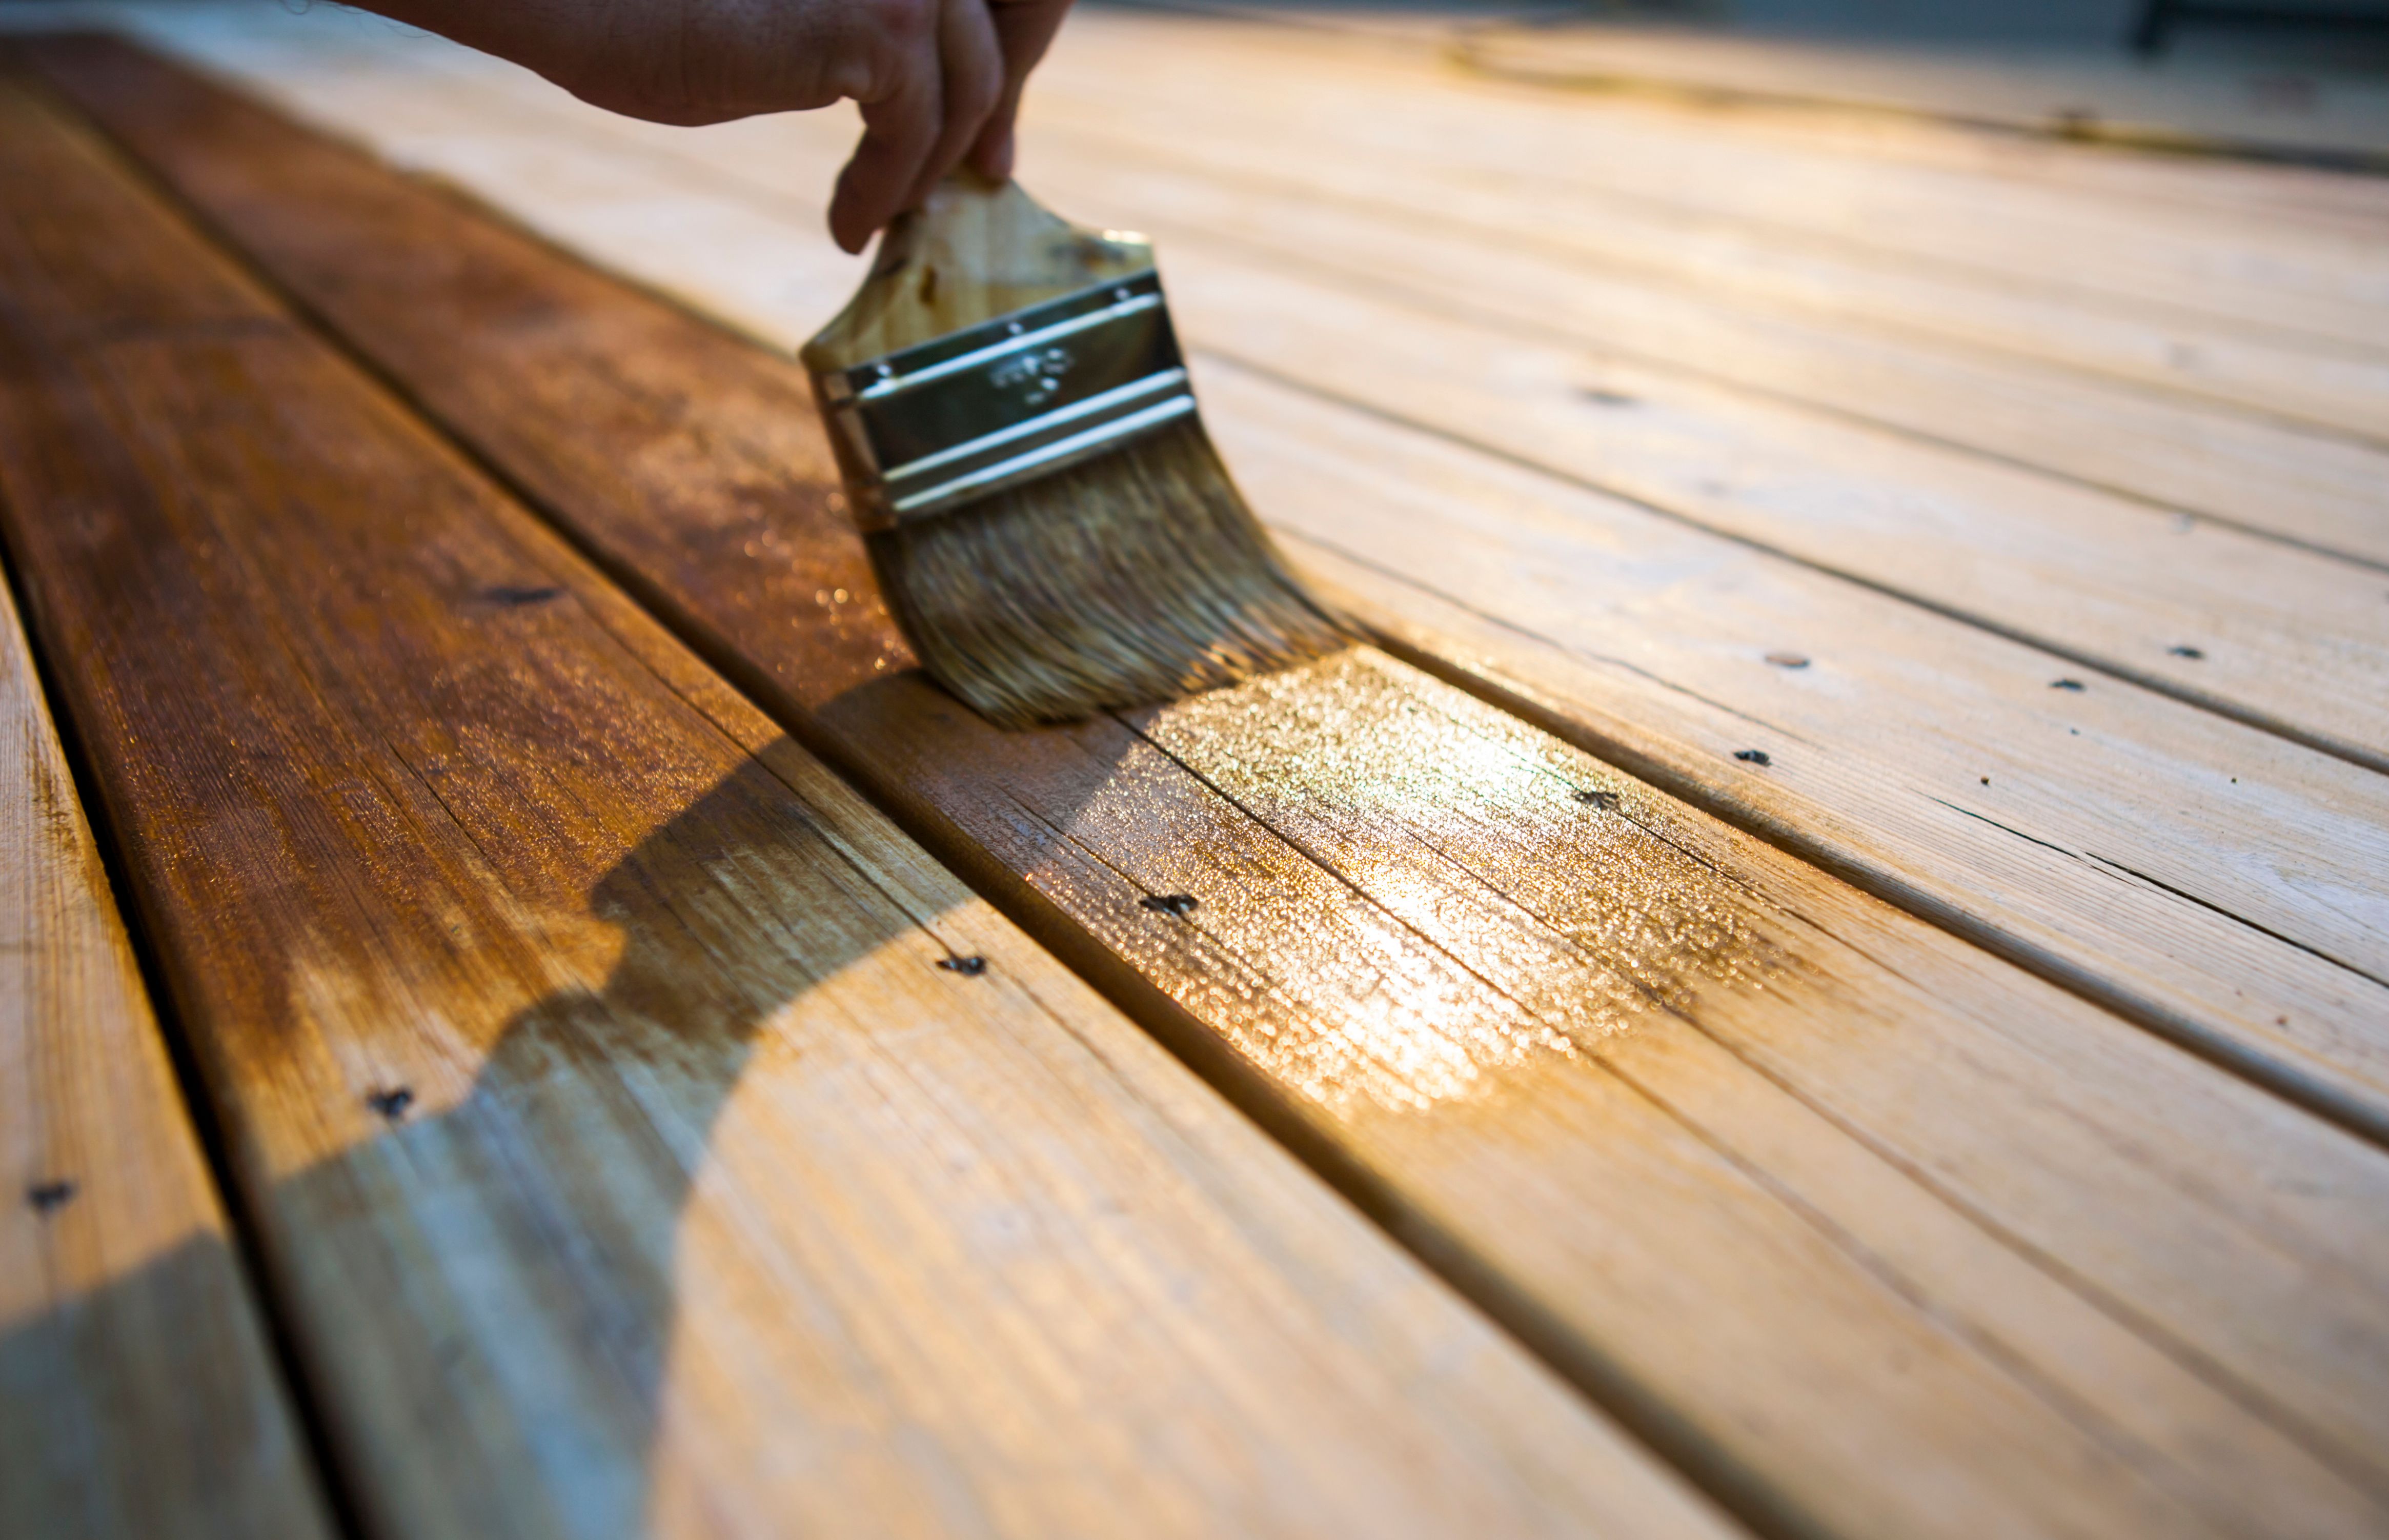
After all the decking boards are installed, it's time for the finishing touches. Sand down any rough edges and apply a sealant or stain to protect the wood from moisture and UV damage. This will enhance the appearance of your deck and extend its lifespan.
Regular maintenance is essential to keep your timber deck looking its best. Clean the surface periodically with a deck cleaner and reapply sealant or stain as needed. Inspect your deck regularly for signs of wear or damage and make repairs promptly to prevent further issues.
By following these tips and tricks from the pros, you can create a stunning timber deck that adds value and enjoyment to your home. Whether you're a seasoned DIY enthusiast or a beginner, with careful planning and attention to detail, your timber deck will be a successful addition to your outdoor space.