
DIY Tips for Installing Aluminium Fencing: A Step-by-Step Guide
WC
Aluminium fencing is a popular choice for homeowners looking to enhance their property's security and aesthetic appeal. It's durable, low-maintenance, and relatively easy to install. If you're considering a DIY project, this step-by-step guide will help you through the process.
Planning Your Aluminium Fence Installation
Before you begin, take time to plan your project thoroughly. Start by measuring the area where you intend to install the fence. This will help you determine how much material you need. Sketch a layout of your fence, marking the positions for posts and gates.
Check with your local authorities regarding permits and regulations. Some areas have specific guidelines about fence height and location. Ensuring compliance with these regulations will save you from potential headaches later.
Gathering the Necessary Materials
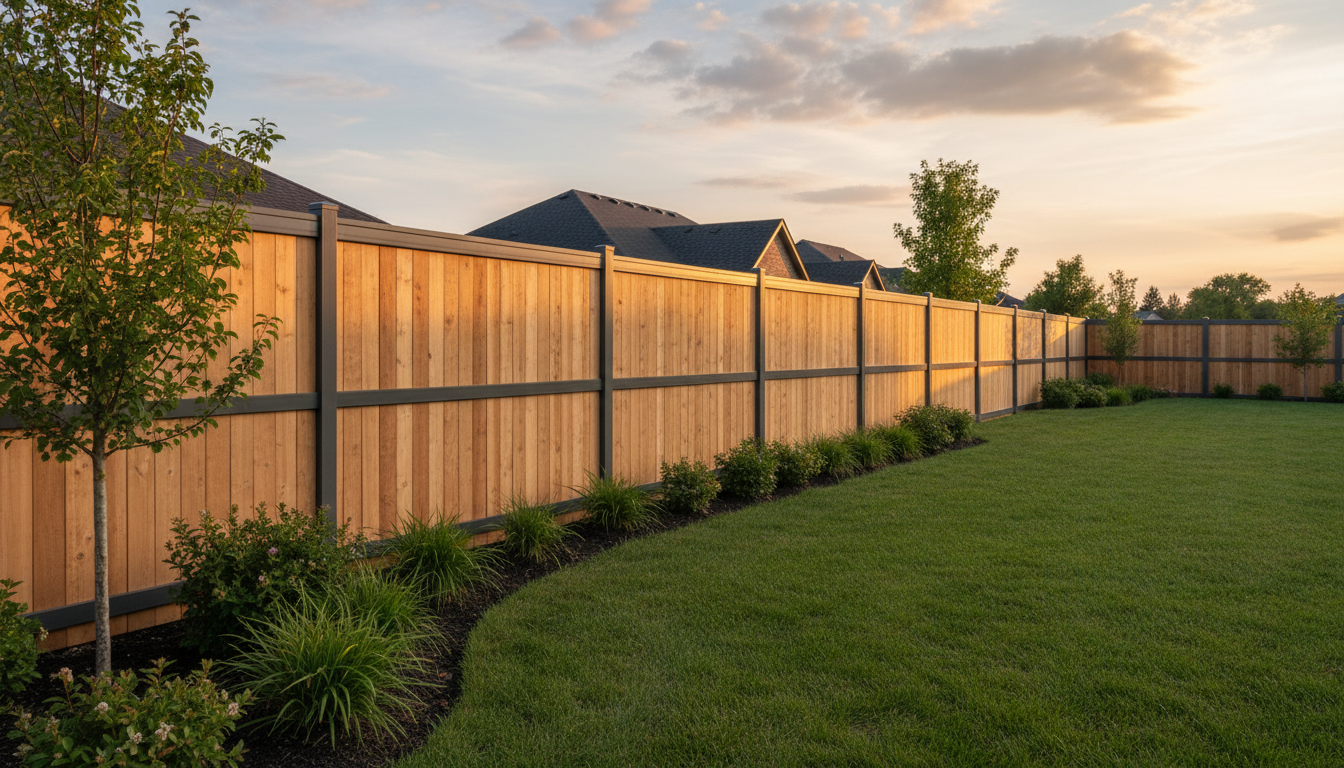
Once your plan is in place, gather the materials and tools you'll need. These typically include aluminium fence panels, posts, screws, a post-hole digger, a level, a tape measure, string, and concrete mix. Having everything ready will streamline the installation process.
Consider purchasing pre-assembled panels for an easier installation. Many manufacturers offer panels in various styles and finishes to match your home's exterior.
Preparing the Site
Clear the area where the fence will be installed. Remove any debris, plants, or obstacles. Use stakes and string to outline the path of your fence. This will serve as a guide during installation and ensure your fence is straight.
Installing the Fence Posts
The first step in the actual installation is setting the posts. Use a post-hole digger to create holes for the posts, ensuring they are deep enough to provide stability. A good rule of thumb is to make the holes one-third the height of the posts.
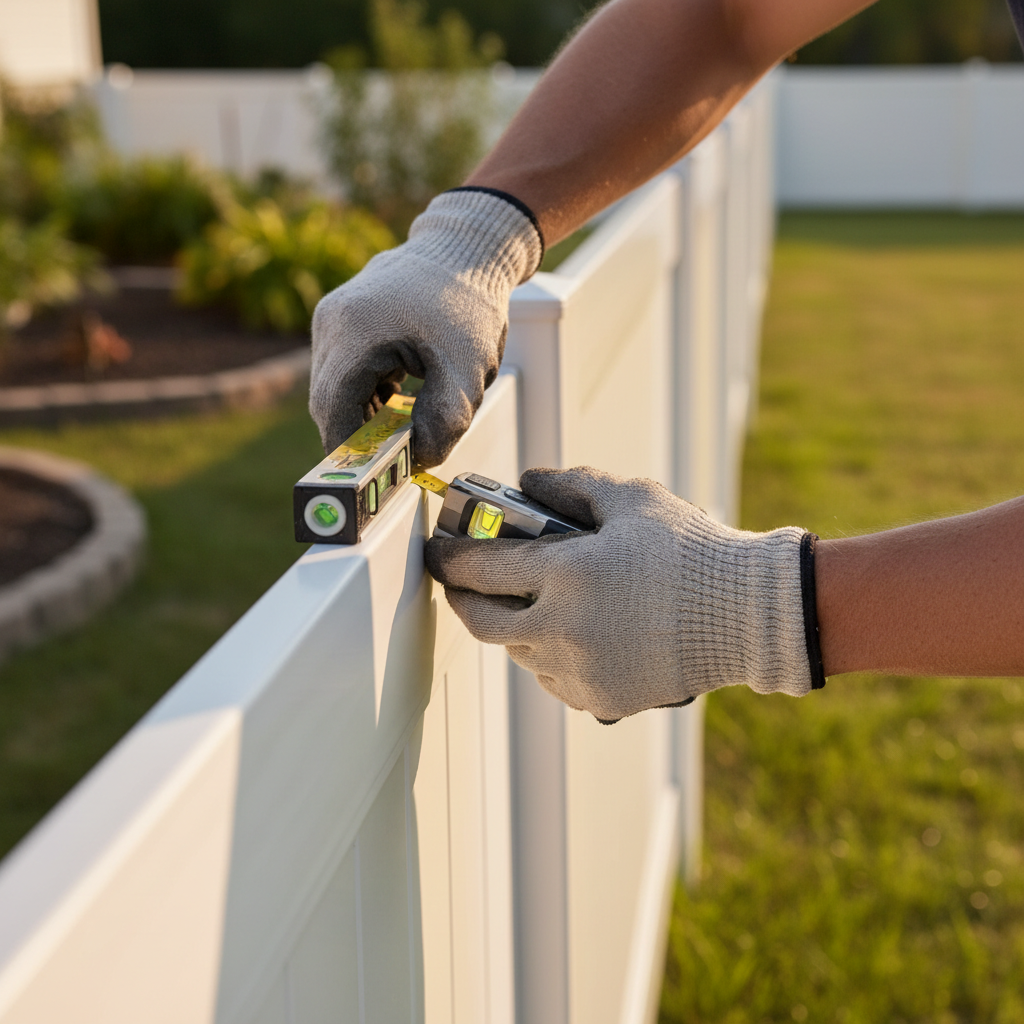
Mix the concrete and pour it into the holes around the posts. Use a level to make sure each post is plumb. Allow the concrete to cure according to the manufacturer's instructions before proceeding to the next step.
Attaching the Aluminium Panels
With the posts securely in place, you can attach the aluminium panels. Start at one end and work your way to the other, using screws to secure the panels to the posts. Ensure each panel is level before tightening the screws completely.
Take your time during this step to ensure everything lines up correctly. A small mistake here can affect the entire look of your fence.
Finishing Touches
Once all the panels are installed, add any finishing touches, such as post caps or decorative elements. These not only enhance the appearance but also help protect the posts from weather damage.
Finally, inspect the entire fence for stability and alignment. Make any necessary adjustments to ensure your fence looks great and functions properly.
By following these steps, you can successfully install an aluminium fence that enhances your property's curb appeal and security. Remember, preparation and attention to detail are key to a successful DIY project.