
DIY Tips for Installing Aluminium Fencing in Your Backyard
WC
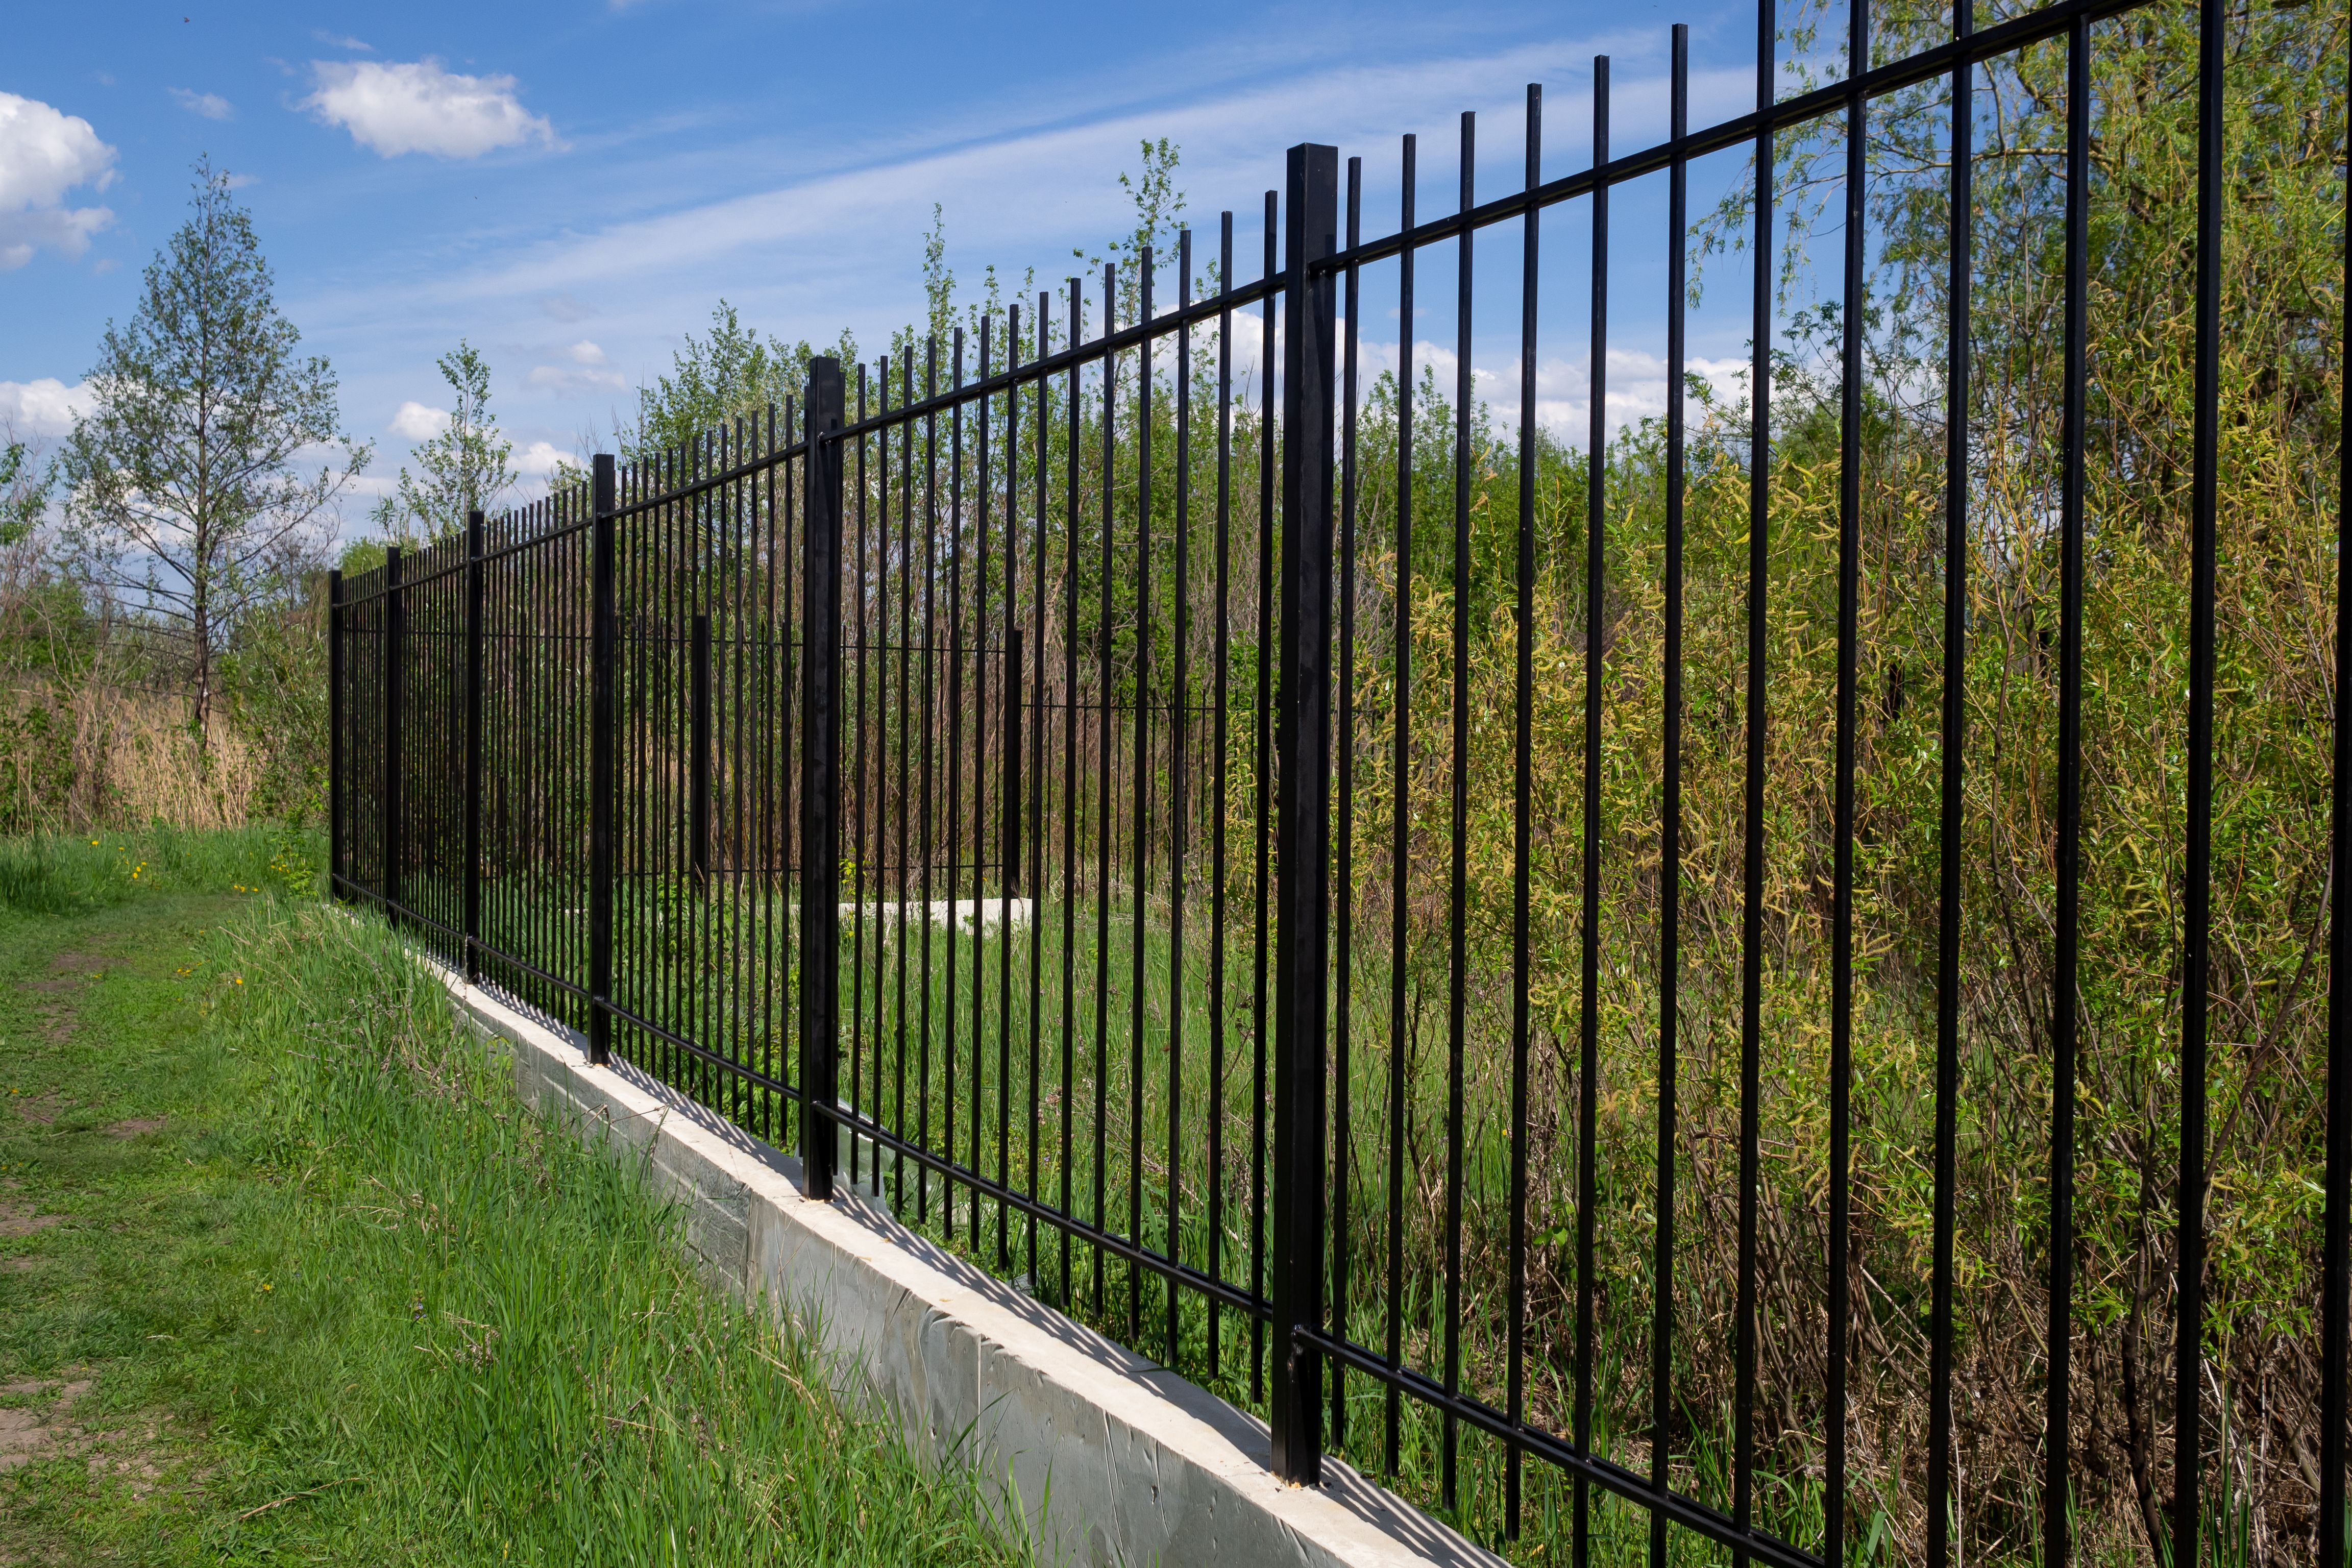
Why Choose Aluminium Fencing?
When it comes to fencing materials, aluminium offers several advantages that make it a popular choice for homeowners. It's lightweight yet durable, resistant to rust and corrosion, and requires minimal maintenance. Additionally, aluminium fences come in a variety of styles and colors, making it easy to match your home’s aesthetic.
Gathering Your Tools and Materials
Before you begin your DIY project, ensure you have all necessary tools and materials. You’ll need:
- Aluminium fence panels
- Posts
- Cement (for post installation)
- Post hole digger or auger
- Level
- Measuring tape
- Screws and drill
- Protective gear (gloves, goggles)
Having the right tools on hand will streamline the installation process and prevent unnecessary delays.
Planning Your Fence Layout
Start by planning the layout of your fence. Measure the perimeter of the area you wish to enclose and mark the spots where each post will be placed. It’s crucial to ensure that your fence is within your property lines and complies with any local zoning regulations or homeowners' association guidelines.
Considerations for Sloped Terrain
If your yard is not perfectly level, you’ll need to account for this in your design. There are two main methods to handle sloped terrain: raked (or racked) fencing, which follows the slope, and stepped fencing, which creates a stair-step effect. Choose the method that best suits your landscape and aesthetic preference.
Installing the Fence Posts
Once your layout is planned, it’s time to install the posts. Use a post hole digger or auger to dig holes for each post. The holes should be approximately one-third the height of the post and wider than the post itself. Mix your cement according to the package instructions, place the post in the hole, and pour in the cement. Use a level to ensure each post is vertical before the cement sets.
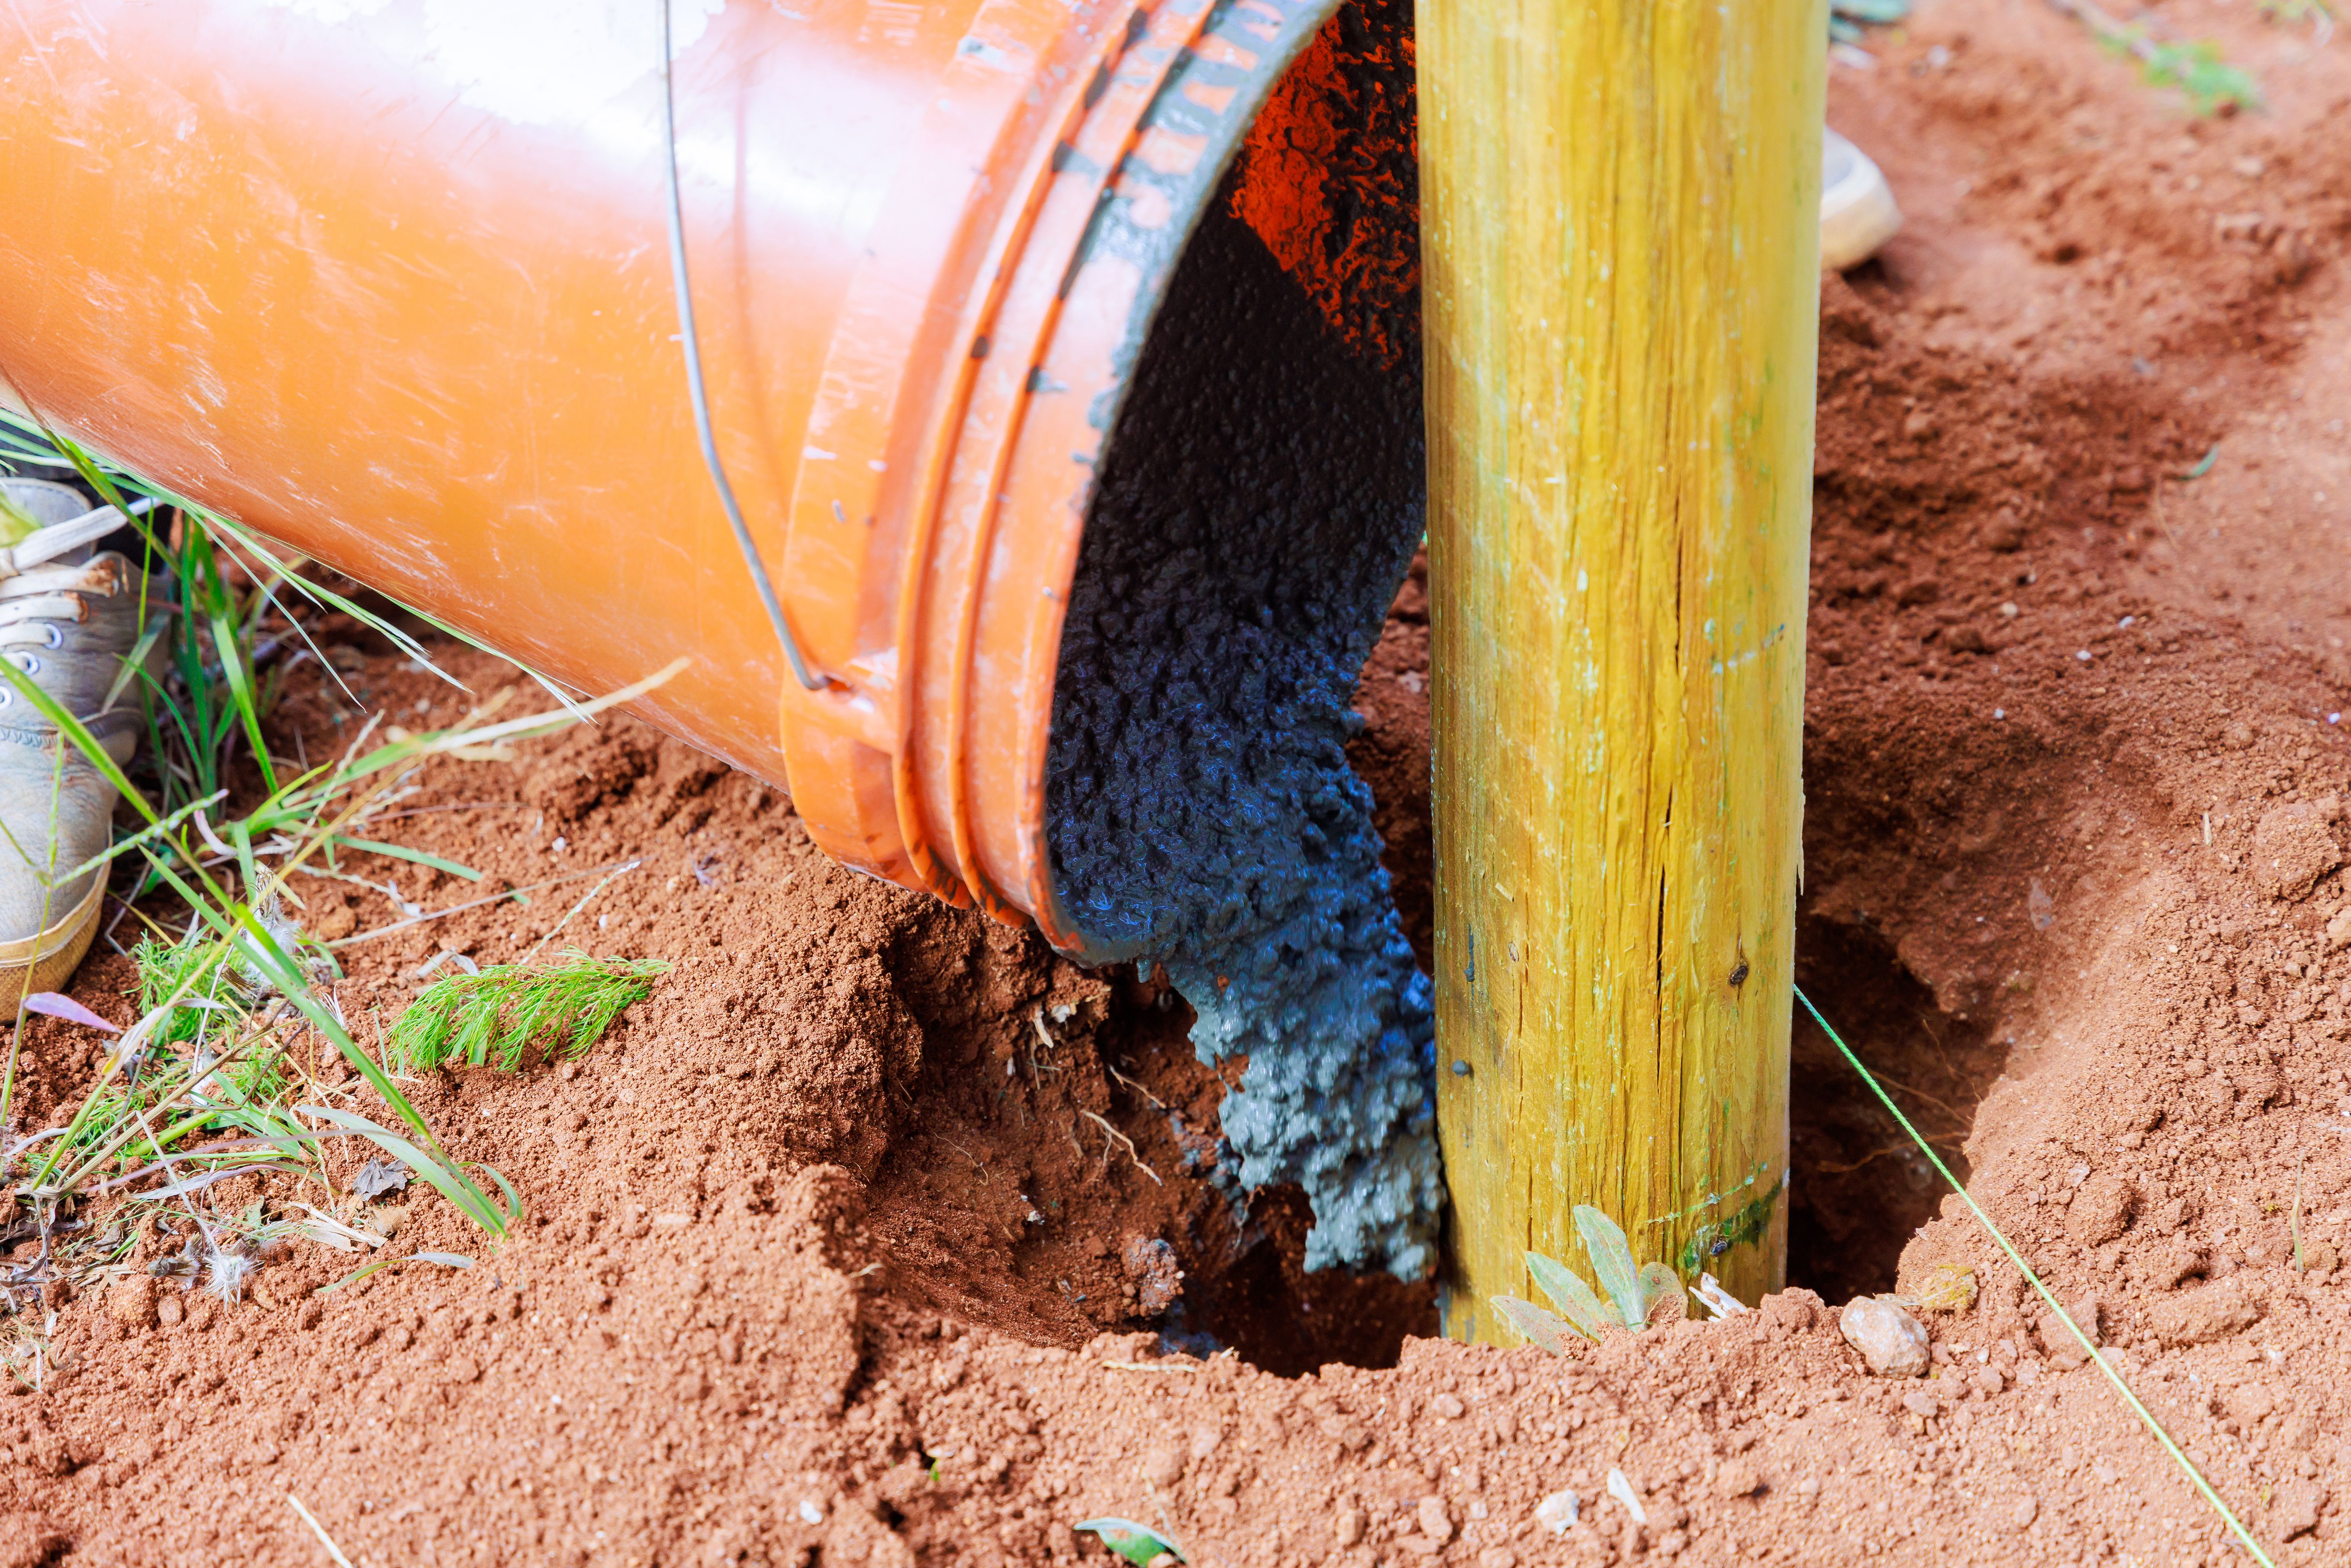
Allowing Time for Cement to Set
It’s important to allow ample time for the cement to cure fully before proceeding with attaching the fence panels. This typically takes about 24-48 hours, depending on weather conditions. During this time, double-check that all posts remain straight and aligned.
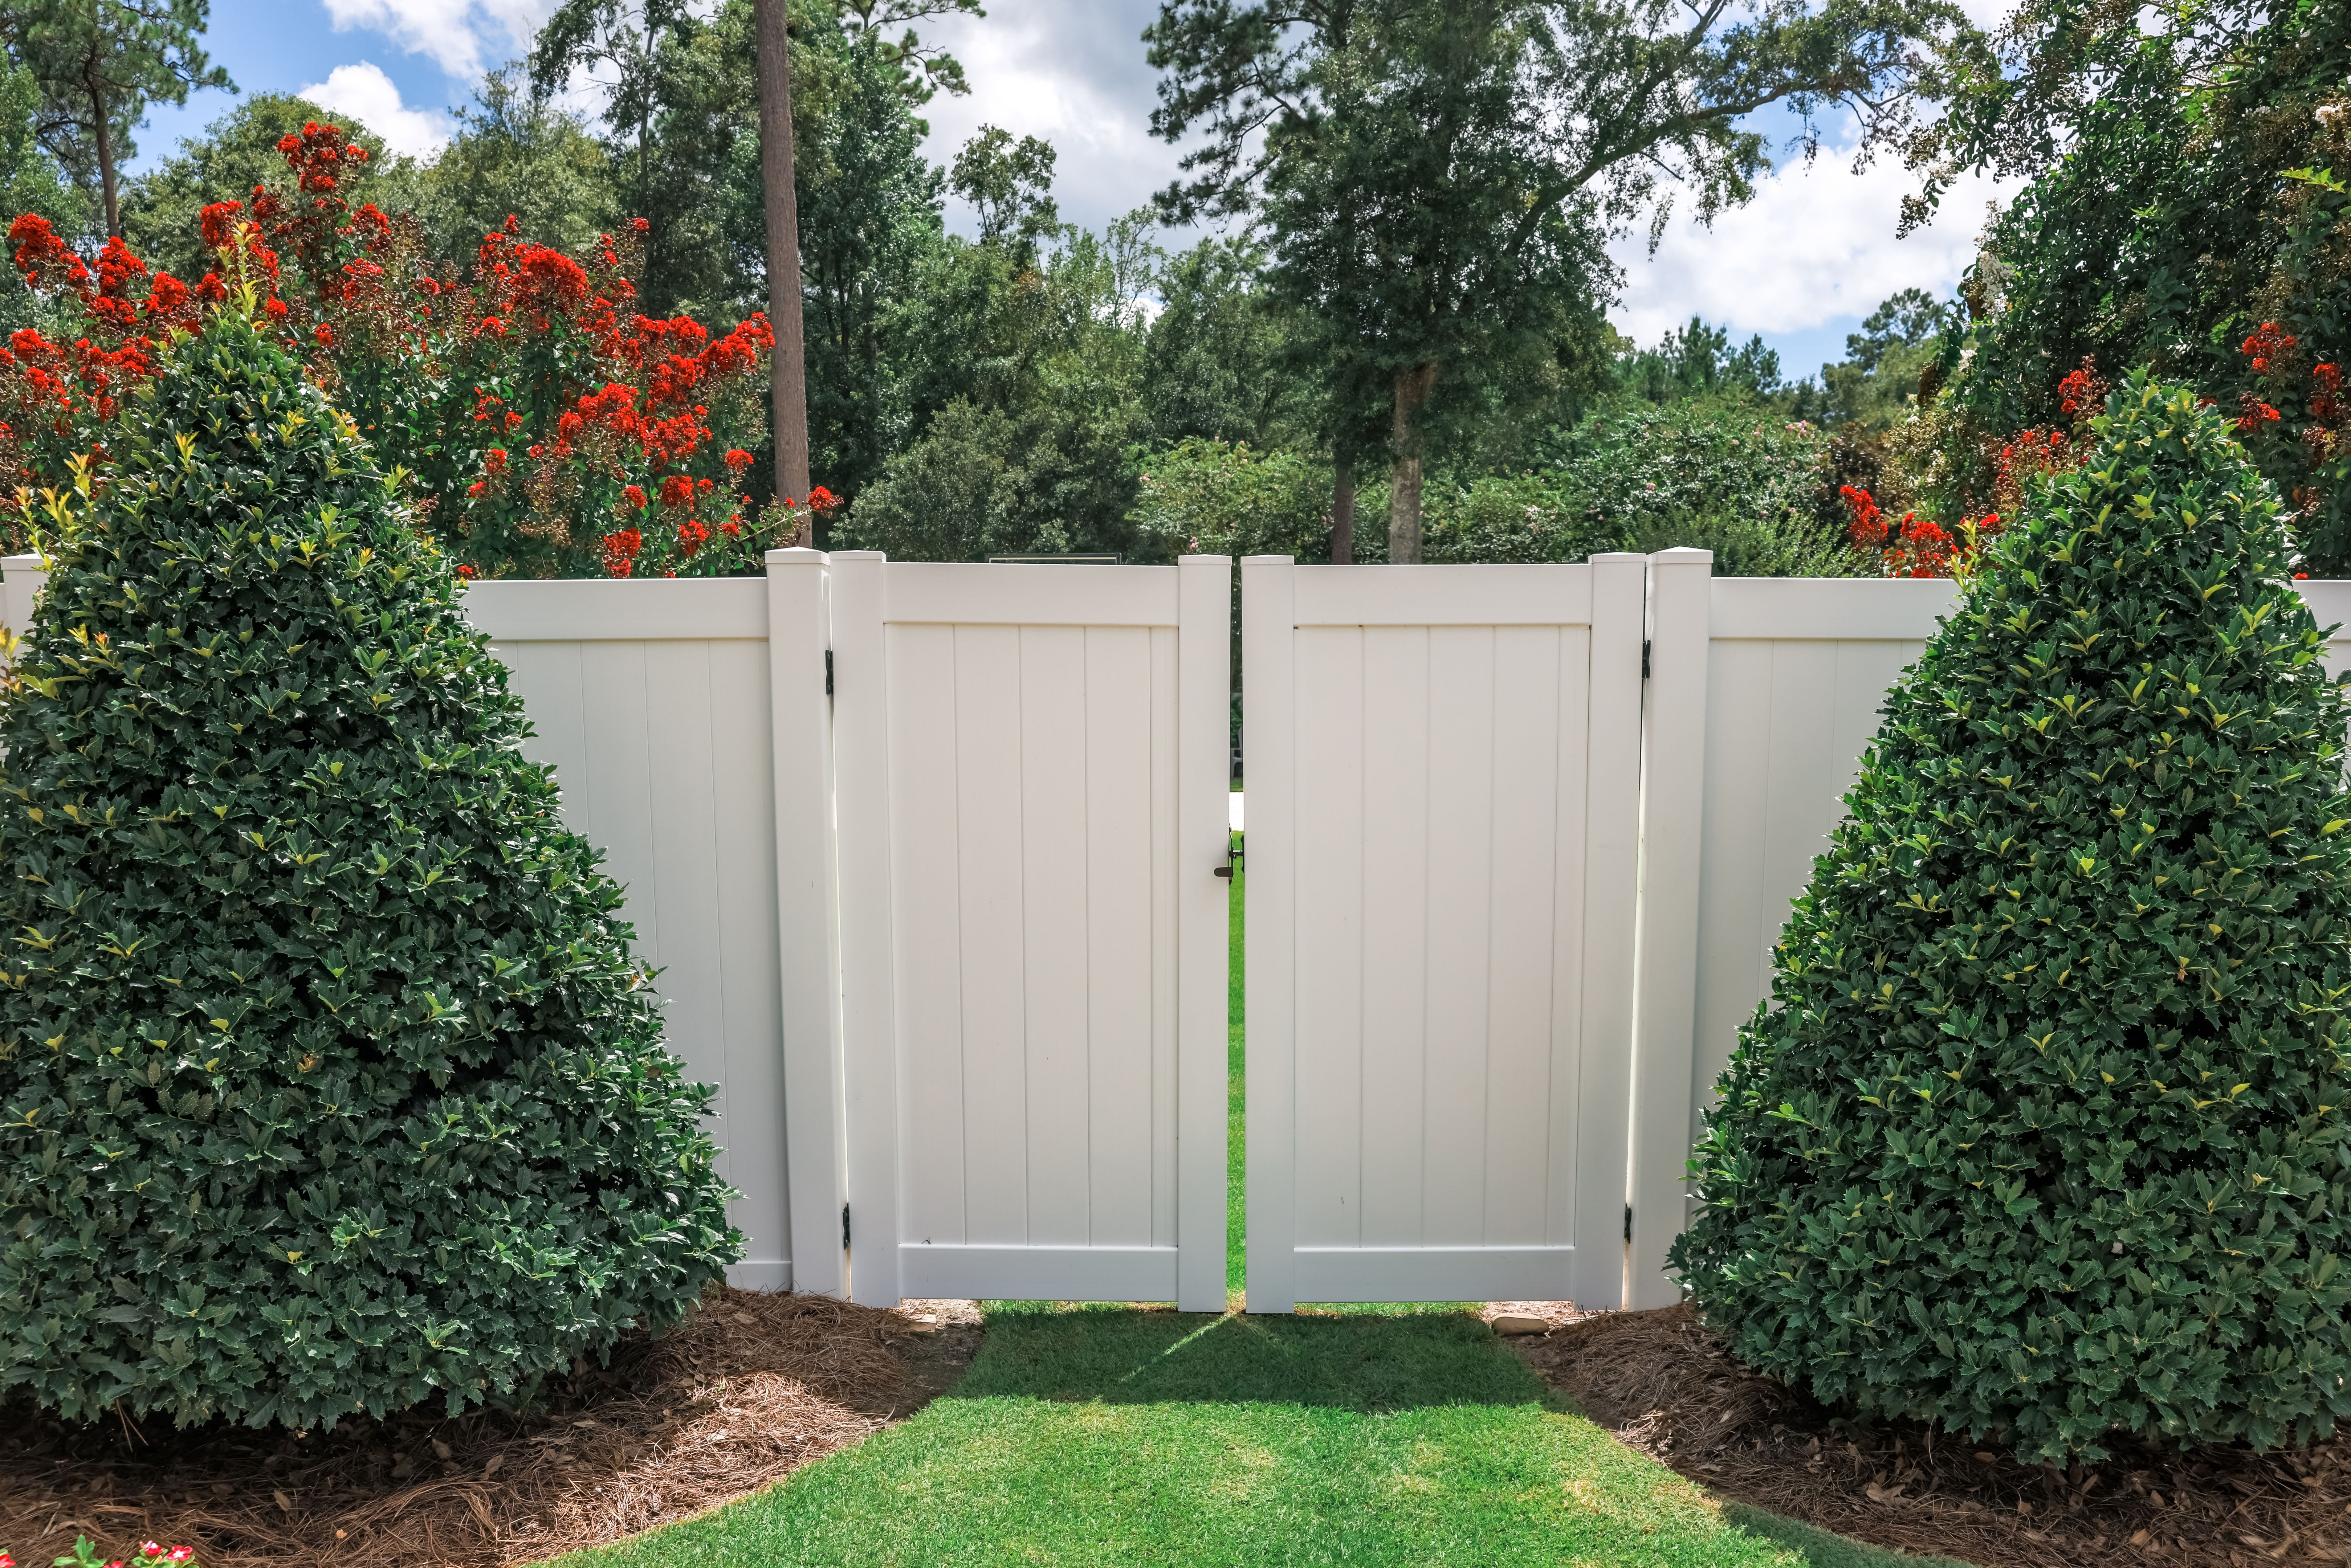
Attaching Aluminium Fence Panels
With your posts securely in place, you can now attach the aluminium fence panels. Begin by aligning a panel with two posts and use screws to secure it. Ensure each panel is level before fully tightening the screws. Continue this process for each section of your fence, checking alignment regularly.
Final Adjustments and Safety Checks
Once all panels are attached, perform a final inspection of your fence. Check for any loose screws or misaligned panels and make necessary adjustments. Ensure that there are no sharp edges exposed that could pose a safety hazard.

Maintaining Your Aluminium Fence
One of the benefits of aluminium fencing is its low maintenance requirements. To keep your fence looking its best, periodically wash it with mild soap and water to remove dirt and debris. Inspect occasionally for any signs of damage or wear, addressing any issues promptly to ensure longevity.
By following these DIY tips, you can successfully install an aluminium fence that enhances your backyard’s appearance while providing lasting durability and security.